Easy Vanilla Cake Recipe
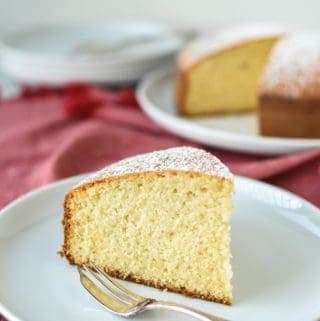
This Easy Vanilla Cake recipe is a classic and comes together in minutes.
Even if you’ve never baked a cake from scratch, you will find this simple and achievable!
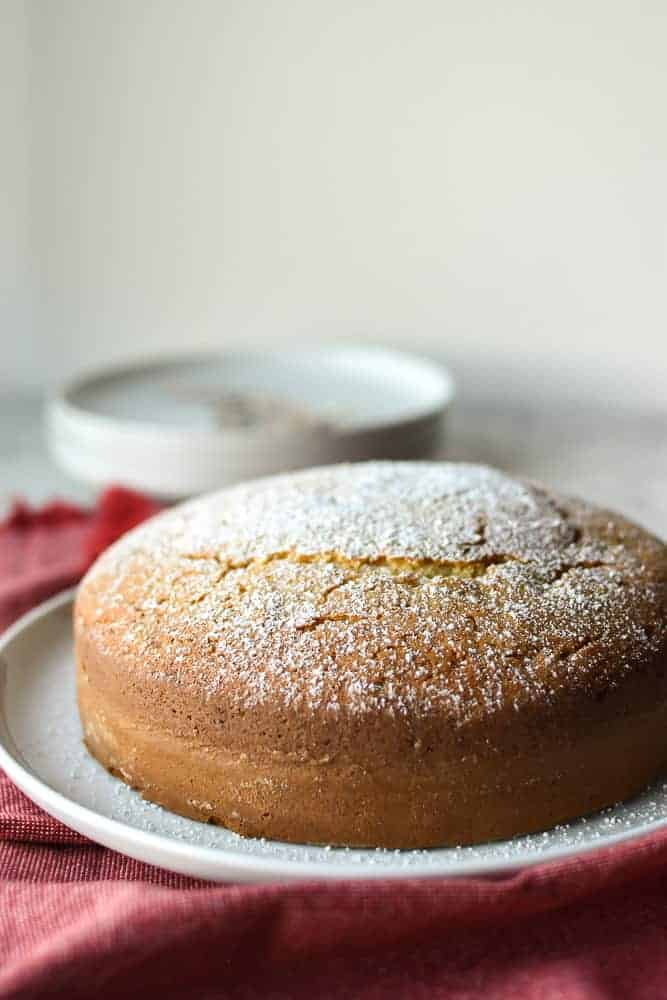
This Easy Vanilla Cake Recipe.
Have you been too scared to attempt making a cake from scratch? Are most cake recipes just too complicated? Sick of the strange ingredients in boxed cake mixes? Then, stay with me. This recipe is for you.
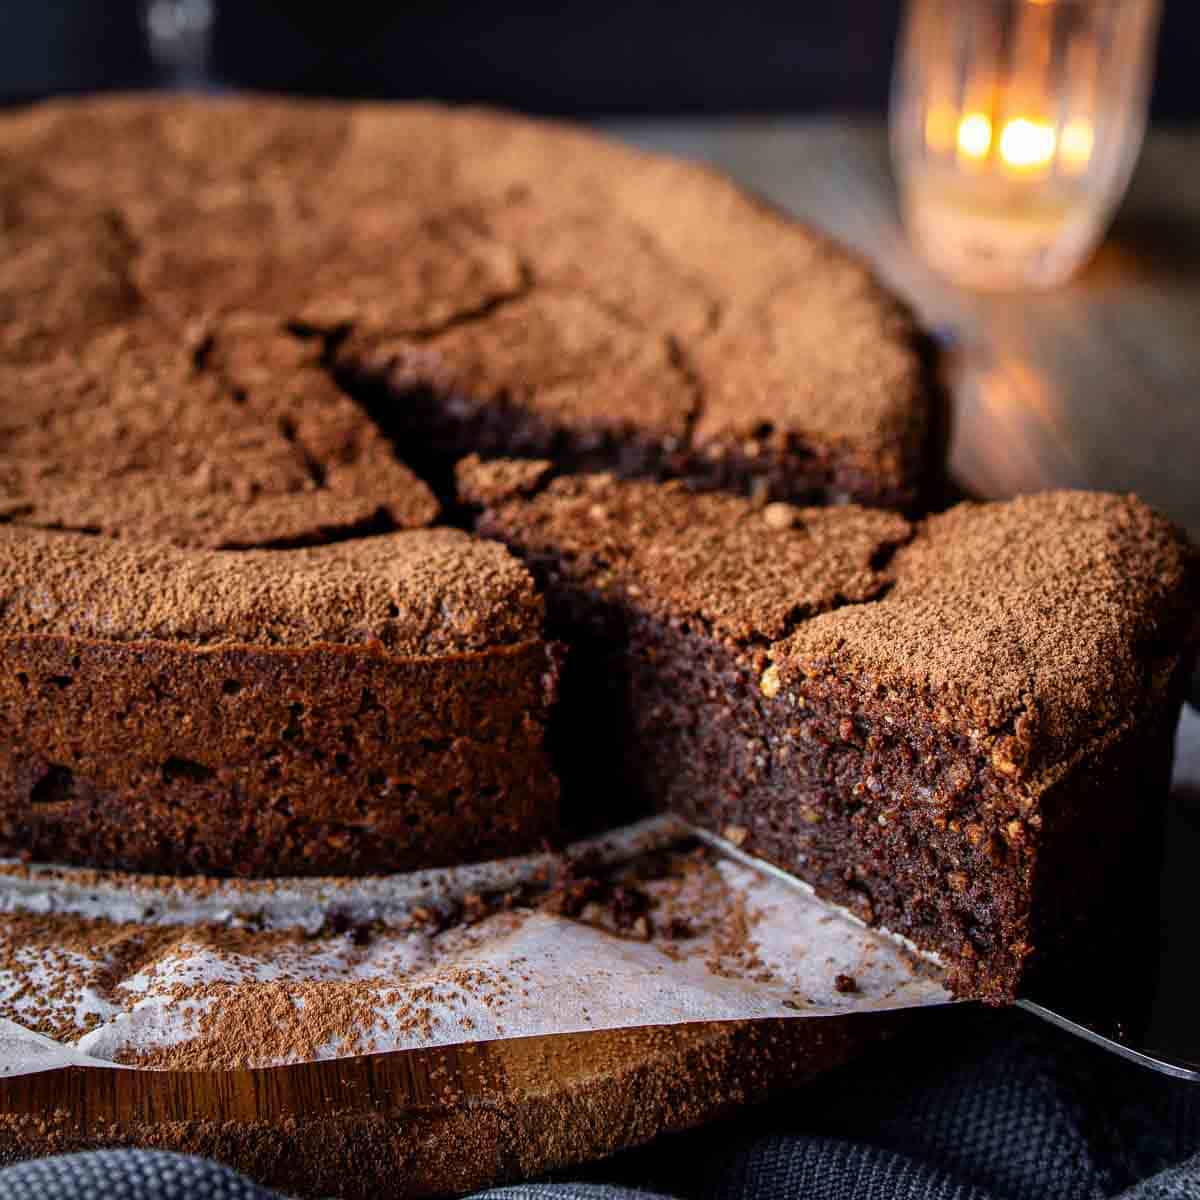
Here at Marcellina in Cucina, there are quite a few cake recipes. You’ll find chocolate cakes like Chocolate Cake with Caramel, Chocolate Orange Cake, and Torta Caprese. Also, you’ll find fruit cakes like Italian Apple Cake, Blueberry Pound Cake and an amazing Italian Pear Cake.
While these cakes are delicious and not incredibly complicated, what is missing is a basic vanilla cake. A cake that is easy and simple enough for even the newest baker to have success with. So, let me introduce you to this Easy Vanilla Cake recipe.
This has been adapted from a recipe a friend gave me years ago. While the original recipe was quite good, it contained more milk, meaning it took a long time to bake. I found that the outside of the cake became overcooked and dry. The result of the adaption is a cake that bakes relatively quickly but with all the delicious flavors of butter and vanilla which pairs so well with a Vanilla Milkshake.
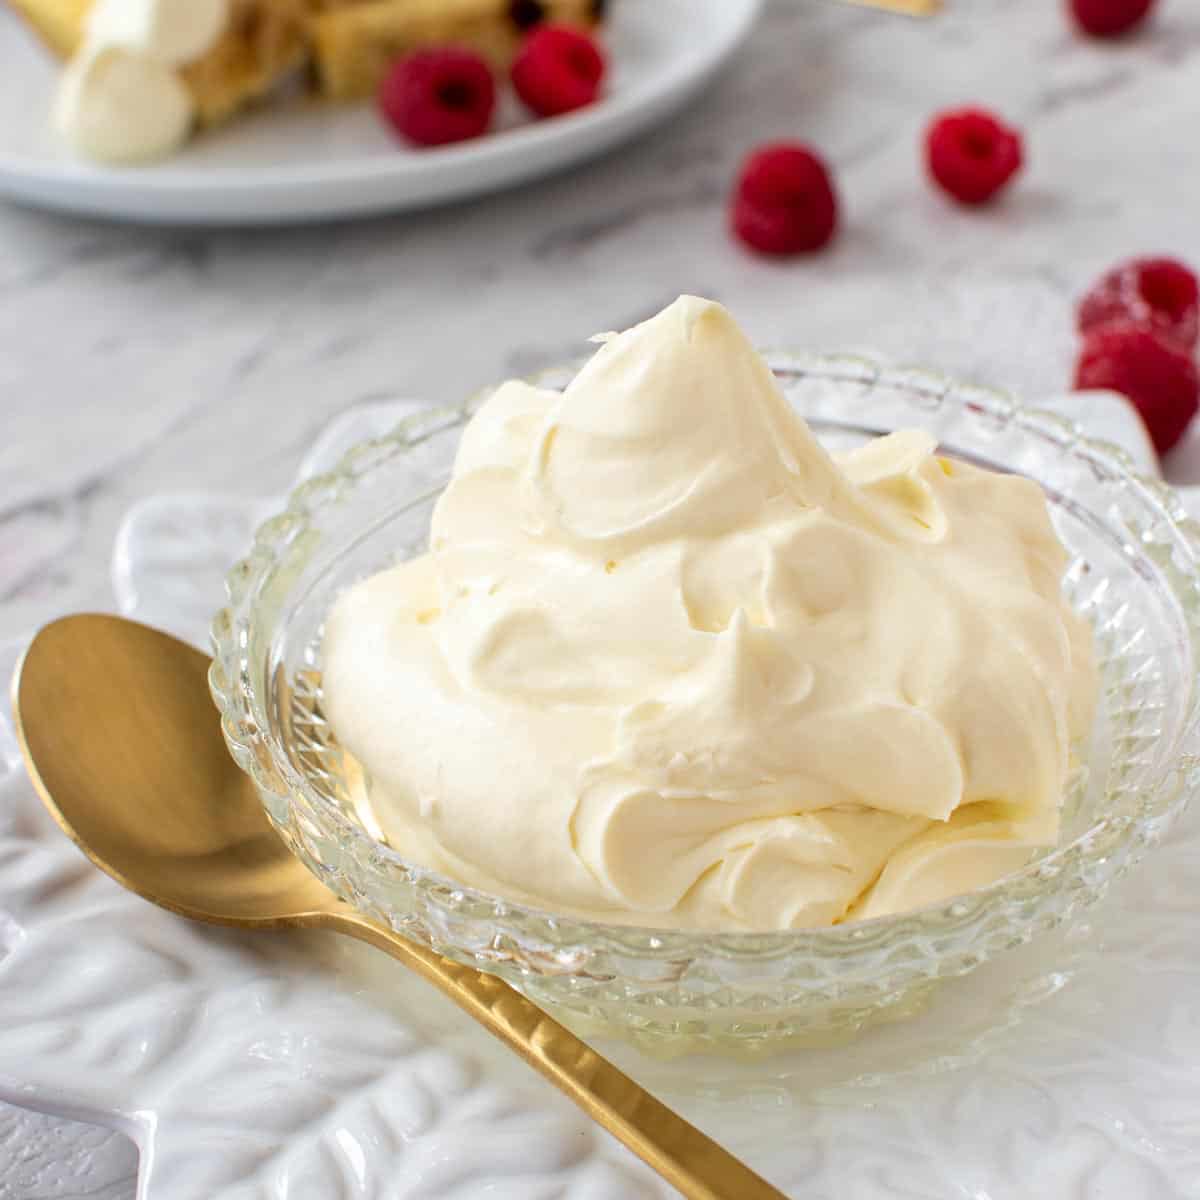
This vanilla cake is a little denser than the original version, but because of that, there’s not too much that can go wrong. Because this is a sturdy cake, it’s perfect for cutting into shapes like numbers for special birthdays. Why not make a batch of this Italian Meringue Buttercream to complete that birthday cake?
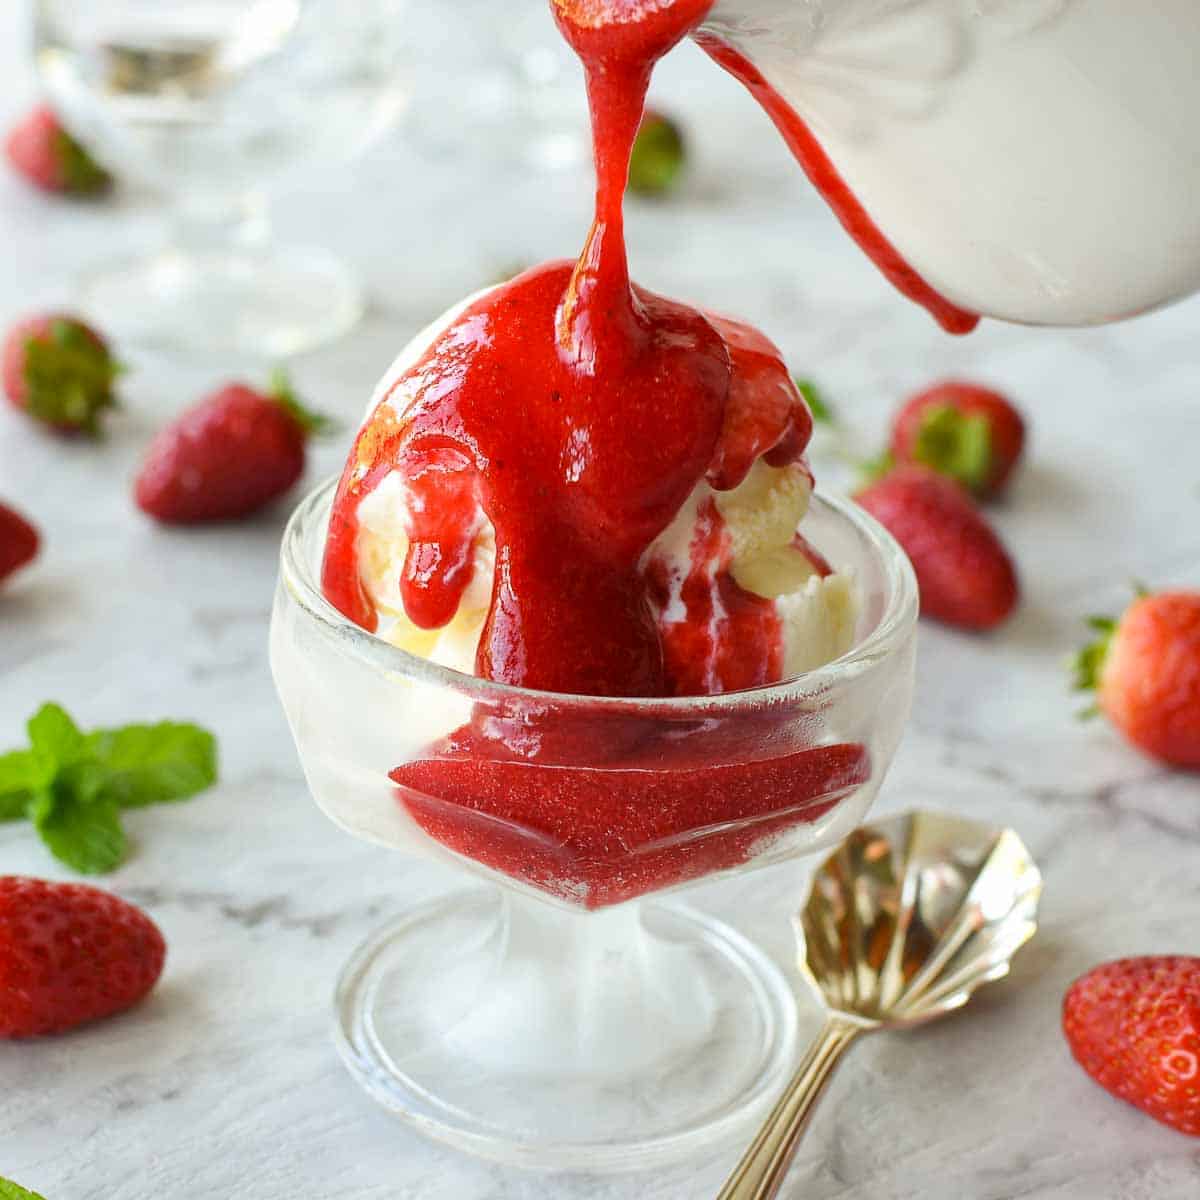
Make a batch of Strawberry Coulis for a delicious dessert to serve alongside this cake.
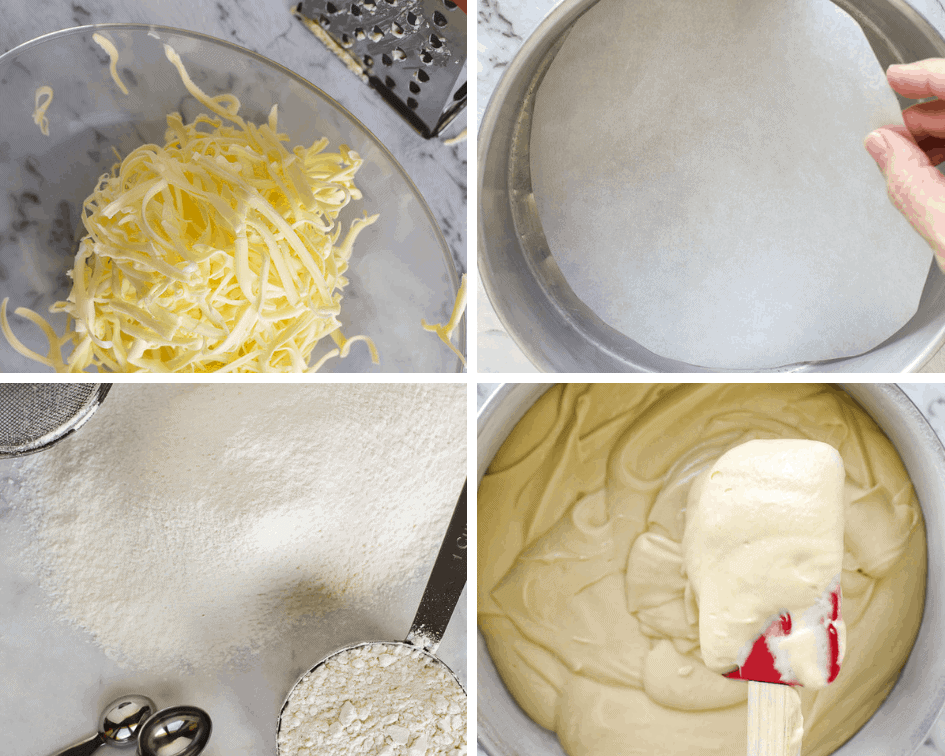
What makes this cake so easy.
This Easy Vanilla Cake recipe is made so simply. All the ingredients are added into the electric mixer bowl at once and beaten until just lightened and creamy. More importantly, the ingredients in this cake are found easily in any supermarket and, actually, in most households. If you’ve looked at vanilla cakes before, you may have come across recipes containing sour cream, buttermilk or cake flour. These ingredients all make delicious cakes however you might not have them at home. With this cake recipe all you need is 8 basic ingredients.
- unsalted butter
- granulated white sugar
- eggs
- flour
- baking powder
- vanilla extract
- whole milk
- salt
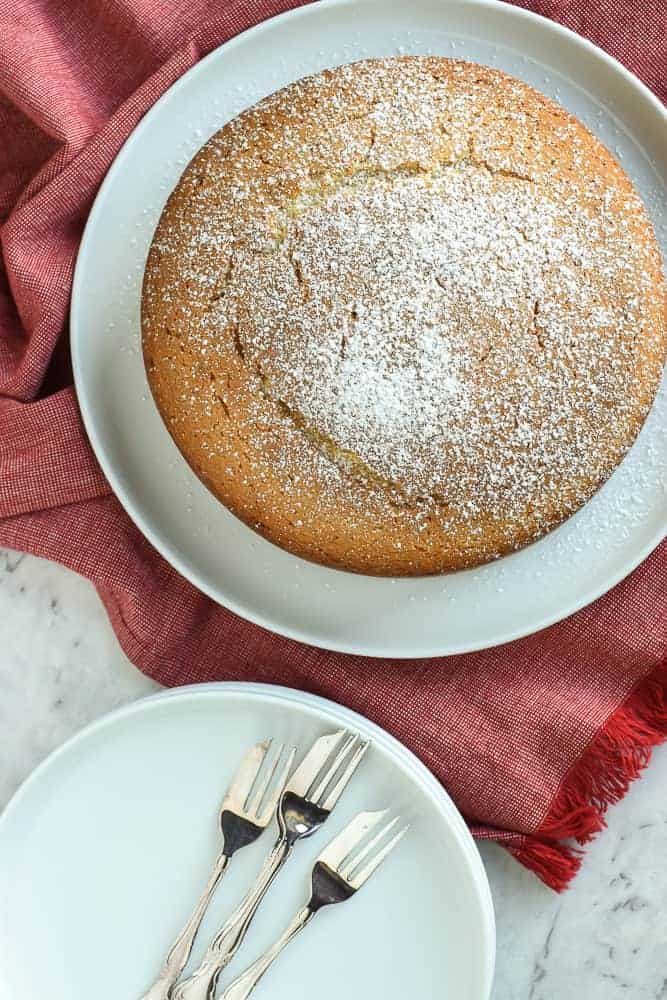
Plus with this delicious cake, it is perfectly acceptable to dust with icing (powdered) sugar in lieu of buttercream.
What do you need to know before making this Easy Vanilla Cake recipe?
Baking is not like cooking. You can’t just throw a few ingredients together and have success. Baking is a science. Measure ingredients accurately and follow all directions to ensure the results are good and the cake or cookies are as you expected. With this cake, there are a few points to remember.
- all the ingredients should be a room temperature
- measure the ingredients carefully and don’t pack the flour into the cup
- preheat the oven fully (this can take 15 minutes or even longer if you have an older model)
- sugar should be lump free – pass through a sieve if need be
- check the expiry date on baking powder
- sift and combine the flour, baking powder and salt well
- be sure to scrape the bowl after the initial 30 second beat to ensure all the ingredients combine
- don’t over beat the batter
- avoid opening the oven door to peek – you will let out the heat and that messes with the cooking time
I cannot stress enough to have your ingredients at room temperature for this cake otherwise it will not mix correctly and will not be as fluffy.
How to measure flour for this recipe.
Spoon the flour into the measuring cup, then level off with a knife. Don’t dip and scoop into the flour bag. This will pack the flour resulting in more flour than required.
Beware of baking powder differences.
Baking powder is a chemical raising agent used to make cakes, scones and quick breads increase in volume and lighten in texture. Most baking powders are double acting. This means that the baking powder is activated firstly by liquids (such as milk, eggs or water),then also activated by heat once the batter is in the oven. An important point to remember is that not all baking powders are equal! Different brands call for different ratios of baking powder to flour. In Australia, the brand I use calls for 2 teaspoons per cup of flour. However American readers may need to adjust this quantity – most brands call for 1 – 1 1/4 teaspoons per cup of flour. In other countries, please follow the directions on the packet of baking powder you are using.
Because I can easily find self raising flour, I will often use that. If you prefer, you can substitute 2 cups of self raising flour for the flour and baking powder.
A bit about that important ingredient – butter.
Butter is the king when it comes to baking. Whether you want flaky pastry or crisp cookies or tender cake, you need butter.
Salted or unsalted butter? Once upon a time, we all used salted butter and had no control over how much salt went into our baking. Salted butter is fine in savoury dishes but I want to ask you to do this simple test. Take a slice of white bread. On one end spread unsalted butter and on the other spread salted butter. Take a bite at the unsalted end followed by the salted butter. You will be surprised by how salty the salted butter is. Salted butter can make sweet baked goods too salty.
That brings me to the quality of butter. I know there are a lot of cheap butters that seem to be the same as their more expensive cousins. However it is not the case. Cheap butter has a different structure. It is not necessarily held at the correct temperature at all times during production. I discovered this when I first tried my hand at puff pastry. The butter just didn’t behave as it should have. I’m not scientific but it had something to do with the composition.
And this composition thing is the same reason why you need to be careful when bringing the butter to room temperature. You can do this a little more quickly by grating the cold butter on a coarse grater and allow to stand until softened. BUT, if what the recipe calls for “softened butter”, it shouldn’t melt or look oily. Again, melted butter has a completely different composition. Melted butter is sometimes be used in quick mix cake recipes.
Here’s a butter conversion:
1 stick of butter = 1/2 cup = 8 tablespoons = 1/4 pound = 4 ounces=113 grams
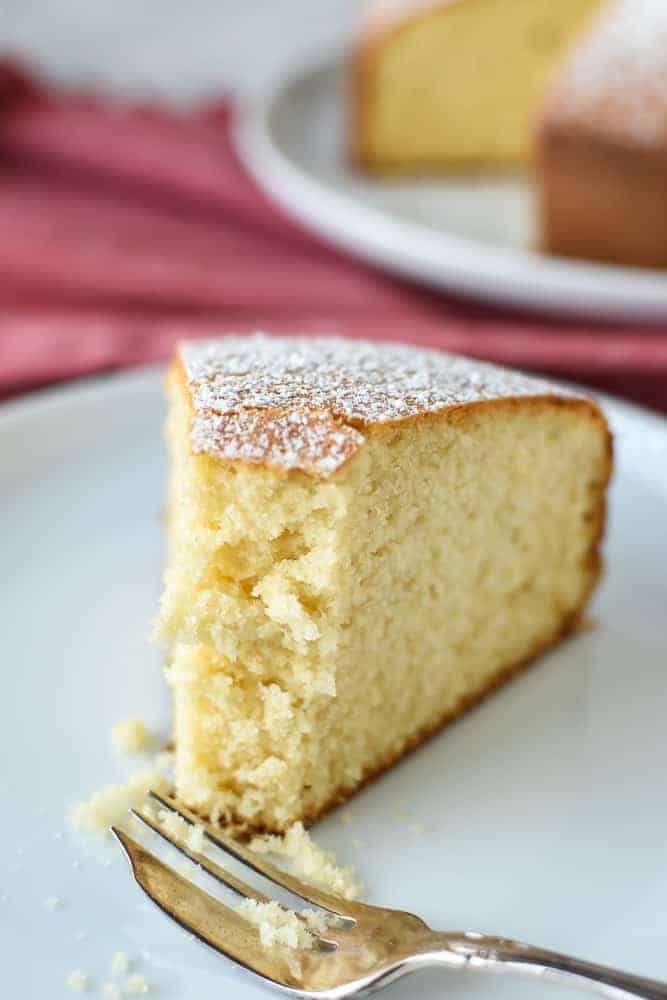
Finally, this Easy Vanilla Cake recipe can be adapted simply by adding a little citrus zest, a shot or two of coffee or folding through a handful of fresh berries. Print out this recipe and file it with your most special recipes because it’s bound to become a favorite.
Updated 22 February 2020: This is a cake I usually make using cups and not the weight of flour. I have checked and rechecked the flour weight. I have two sets of cup measurements. One set weighed 1 cup = 125g conversely the other set weighed 1 cup = 145g. Therefore I have decided to update the recipe with the more common weight of 1 cup = 125g.
More recipes you’ll love
Cappuccino Cake
German Plum Cake
Boiled Fruit Cake
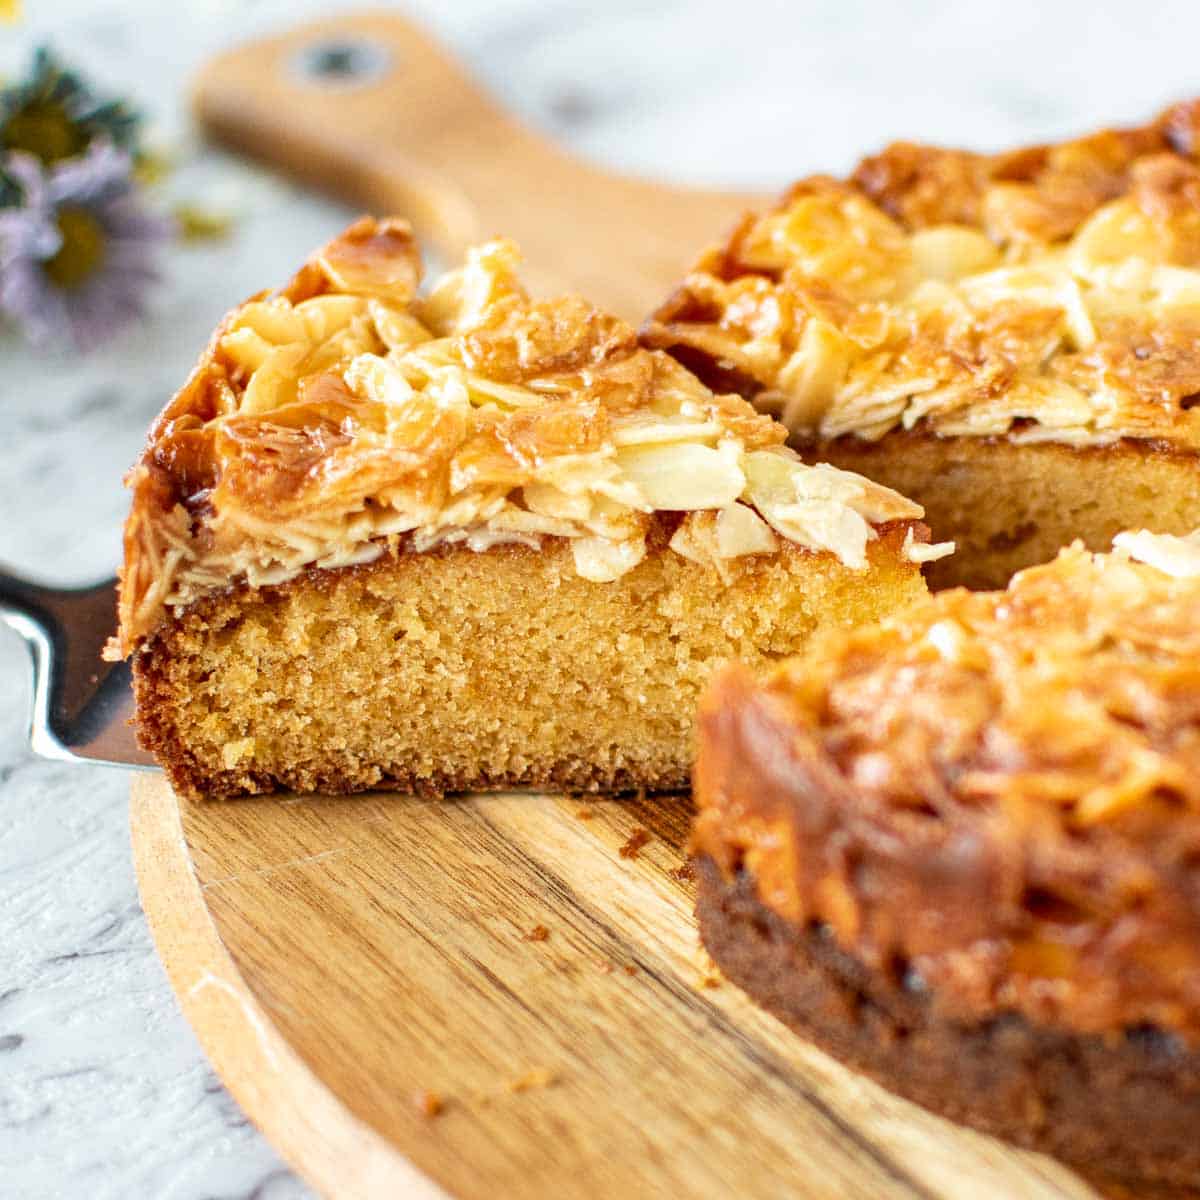
Italian Almond Cake
Italian Lemon Cake
Made this recipe?
Please let me know if you liked it by leaving a ★★★★★ star rating and a review below. And remember to subscribe to my newsletter – it’s free!
Easy Vanilla Cake Recipe
Equipment
- measuring cups and spoons (or scales)
- spatula
- grater (to grate cold butter)
- 8 inch (20 cm) round cake pan with high sides use a light colored cake pan
- electric mixer
Ingredients
- ½ cup unsalted butter (or 1 stick or 113grams) (softened – see notes)
- 1 cup superfine white sugar (also known as castor sugar)
- 2 eggs (room temperature)
- 2 cups plain (all purpose) flour (250 grams)
- 3 teaspoons baking powder (check the recommended amount for your brand of baking powder – see notes)
- ½ cup whole milk (for a less dense cake – use ⅔ cup milk)
- 4 teaspoons vanilla extract
- ¼ teaspoon salt
Instructions
- Preheat oven to 350°F/180°C.
- Butter and line the base of an 8inch/20cm round deep cake pan then dust with flour to ensure the cake doesn't stick. Remember to use a light colored cake pan.
- Sift together flour, baking powder and salt. I like to sift onto a sheet of baking paper to save washing up.
- Place all ingredients into the bowl of an electric mixer. Mix on low for 30 seconds.
- Scrap the bowl with a rubber spatula to make sure all the flour has been incorporated. Be sure to scrape the bottom – sometimes the mixer blade doesn't full incorporate the ingredients at the bottom.
- Mix again this time on medium speed for 3 minutes. The cake batter should lighten in color and be thick and creamy.
- Scrape the batter into the prepared pan, tap the pan on the kitchen bench to remove excess air bubbles and place into the oven.
- Bake for 35-45 minutes. It will be cooked when the cake no longer jiggles, is coming away from the side of the pan, springs back when pressed and a skewer inserted comes out clean.
- Cool in the pan for 5 minutes before turning out on a wire rack. Flip so that it is up the right way and allow to cool.
- A simple dusting of powdered sugar is all it needs. Can be served warm or cool. Best eaten with 3 days.
Notes
- 1/2 cup of unsalted butter is equal to a stick of butter for US readers.
- To soften butter quickly, simply grate with a coarse grater. Allow to stand until softened which won’t take long.
- Baking powder can differ in each country. Be sure to check the packaging for the correct ratio of baking powder to flour. The baking powder I used states to use 2 teaspoons per 1 cup of flour. Also remember that baking powder has an expiry date. Always use fresh baking powder!
- If you have access to self raising flour you can substitute 2 cups of self raising flour for 2 cups of plain flour and 4 teaspoons baking powder.
- If you would like a less dense cake add a little more milk – instead of 1/2 cup add 2/3 cup of milk. In this case, give the cake 5 or 10 more minutes in the oven.
To measure flour correctly for this recipe.
Stir the flour to lighten then spoon it into measuring cup and level off with a knife. Don’t dip and scoop the measuring cup into the flour bag or pack the flour into the measuring cup.Nutritional Estimate Per Serving
Nutritional Disclaimer
Nutritional information is an estimate provided by an online nutrition calculator. For accurate results, it is recommended that the nutritional information be calculated based on the ingredients and brands you use.

great cake recipe
I’m so glad you enjoyed it, Renae!
I tried this recipe two times and both times a disaster. The sides rise much faster than the center and result in the sides being done and the center undone. I think the amount or quality of the baking powder is too high. It might work if it were done in a Bundt pan but not the 8” pan as instructed.
Hello James, this cake as work for many readers who love it. It’s quite natural for the outside to be exposed to more heat than the center and it will rise first. You need to cook it until the inside is done. If your oven is running hot, try lining the sides with nonstick parchment paper. Baking powder differs between countries and brands which is why I specify in the recipe (right beside the baking powder measurement) “check the recommended amount for your brand of baking powder”.
I baked this as cupcakes with diced peaches and a little bit of honey and they turned out perfect. I also only baked them for 20 minutes.
Great idea, Annabeth!
How can I double this for a 9×13 pan? I didn’t realize you used an 8 inch until I poured mine in the 9×13 so of course the cake was too thin. I also cooked for 35 mins but the sides were over cooked probably because I used the large pan as well. Taste was delicious though!
Hi Heather! While I have never baked this cake in a 9×13 cake pan, I do have some ideas for you. I would increase the ingredients by one half. To do this easily, just increase the servings in the recipe card to 18. This will automatically increase all the ingredient measurements. I would use the extra quantity of milk indicated so that the cake stays moist. Keep the oven temperature the same. Depending on your oven, the cake may be done at 30-35 minutes because there is a large surface area of batter. Hope that helps!
Thanks for the recipe, the love the cake .❤️
So glad you enjoyed it, Susan!
heyy! I made this but unfortunately it ended up burning on the outside very quickly. I used an 8 inch cake tin at 180°C but after 10 minutes the cake was really brown. I lower the heat all the way to 70°C to make sure the middle was cooked. the entire outside of the cake was burnt but the inside was nice and fluffy and it tasted really good. what can I do next time to get better results
Hi Latifah! Thanks for reaching out with your cake issue. This cake will be quite brown on the outside but it shouldn’t be burnt.I suspect that your oven runs hot. You may have to test out a few things. Does this happen with other cake recipes? The temperature of 180ºC is a fairly common temperature and most cakes wouldn’t burn at that temperature.
Are you using a dark cake tin? This is often the cause of darken on the outside. Use a light colored cake tin.
You can lower the temperature to 160ºC though the cook time may vary. Also you can line the cake tin with a couple of layers of non stick baking paper (both the sides and a couple of circles on the bottom) and this will protect the outside of the cake from the oven heat. Check the cake towards the end of the cooking time and cover it loosely with foil if the top is browning too much.
I hope this helps!
Hi it’s me again!! I tried it again today. this was the first cake I’ve made in a very long time so I’m not sure if it would be working the same. I made it at 160°C and the outside still ended up being burnt but not as much as last time. and I used a light coloured tin both times. I will try this recipe again and lower the temperature to 140°C. I really do enjoy this recipe and hope it works for me
Hmmm, that is strange that it burnt so much. Is the tin the correct size? Yes, lower the temperature and also try lining the tin with paper bottom and side (two layers). This will protect it a bit. Maybe your oven is running hot. You might need to bake a few more cakes while testing temps and times.