Snowflake Cookies
These Snowflake cookies are delicious to eat and delightful to gift.
Crispy edges but soft and tender in the middle, these are the perfect combination of pretty and tasty!

Table of Contents
Why you’ll love this recipe
There are so many reason to love this recipe! But the most important reason is because these Snowflake cookies are decorated in a much easier way than traditional sugar cookies!
That’s right. Most sugar cookies that are decorated with royal icing. To do this, a small round tip is used to outline the cookie with icing then the inside is flooded with more icing. This takes time, patience and a steady hand.
Instead, these snowflake cookies are decorated with store bought fondant. Fondant is available in white or various colors from supermarkets or online.
Roll the fondant very thinly and just cut out with corresponding cookie cutters. A little corn syrup used as glue sticks the fondant shapes to the cookies.
Then it’s up to you – use some edible sparkle, drizzle or pipe with royal icing and press on some edible silver balls.
These Snowflake Cookies are perfect included on a cookie platter along with some other Christmas favorites like Italian Butter Cookies and biscotti.
If you also want to make gluten free cookies for Christmas, then you can’t look past my Almond Flour Cookies – chewy, moist and decadent!
For complete ingredient quantities and full instructions, please scroll to the printable recipe card at the bottom of the page.
Ingredients
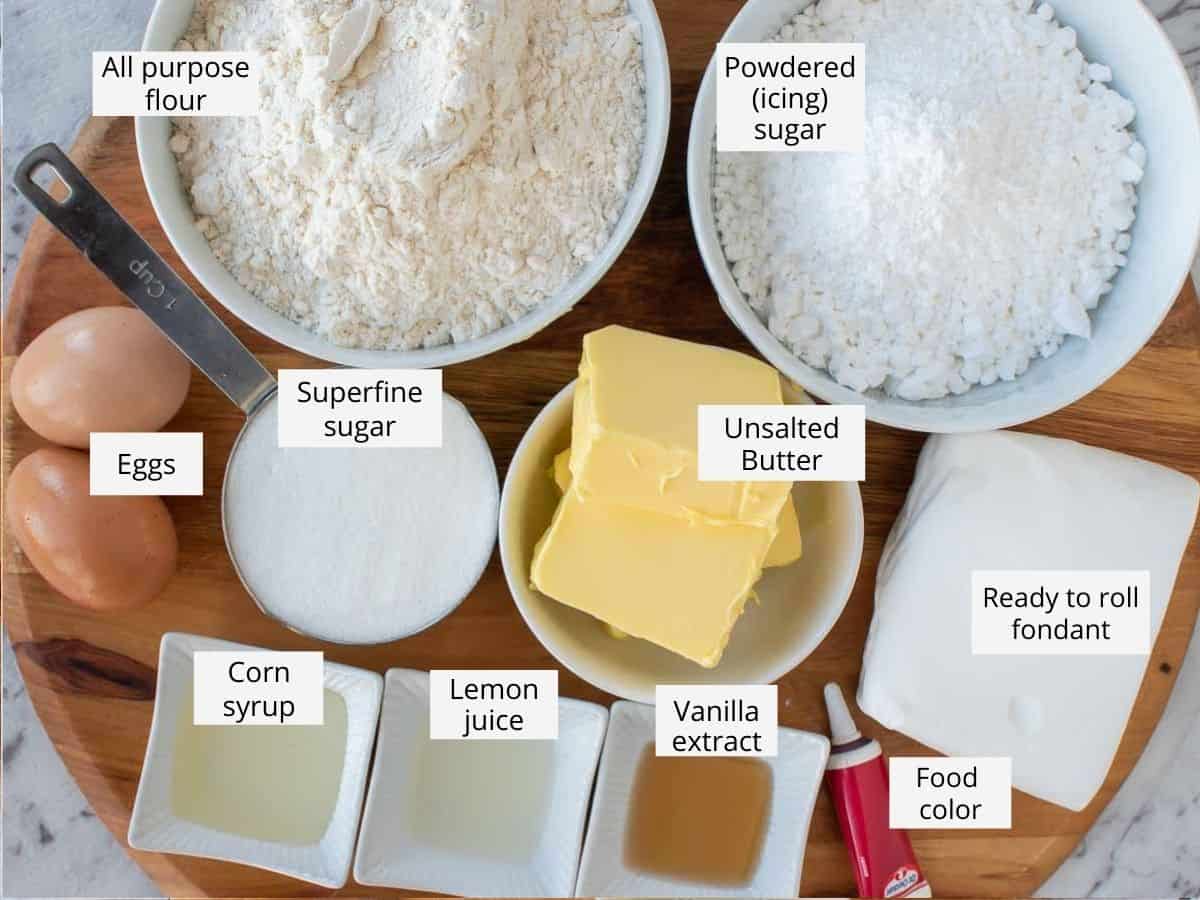
- unsalted butter – if using salted butter just omit the salt
- superfine sugar – it will dissolve better than coarser grains
- flour – regular all purpose is fine
- eggs – for the dough and icing (used 2 tablespoons of pasteurised egg whites for icing, if you prefer)
- vanilla extract
- powdered (icing) sugar – I like to use pure powdered sugar for royal icing but regular is fine
- lemon juice – just a little to flavor the icing
- corn syrup – this will be the glue for the fondant
- store bought fondant
- food color – as desired
Notice that there isn’t any rising agents like baking powder. Baking powder causes the cookies to rise and change shape. You don’t want your cookies to change shape because then the beautiful shapes you have cut will be lost.
Air can also cause cookies to use so be careful not to over beat the butter and sugar mixture. This would incorporate too much air causing the cookies to rise just like baking powder.
Variations
Flavorings for these snowflakes cookies can be varied. Try add one of these extras for something different.
- 1/2 teaspoon almond extract
- 1/2 teaspoon peppermint oil
- grated citrus zest
- ground cinnamon – just a teaspoonful
- ground ginger – a teaspoonful
Instructions
Preheat the oven and line baking sheets (trays).
Sugar cookie dough
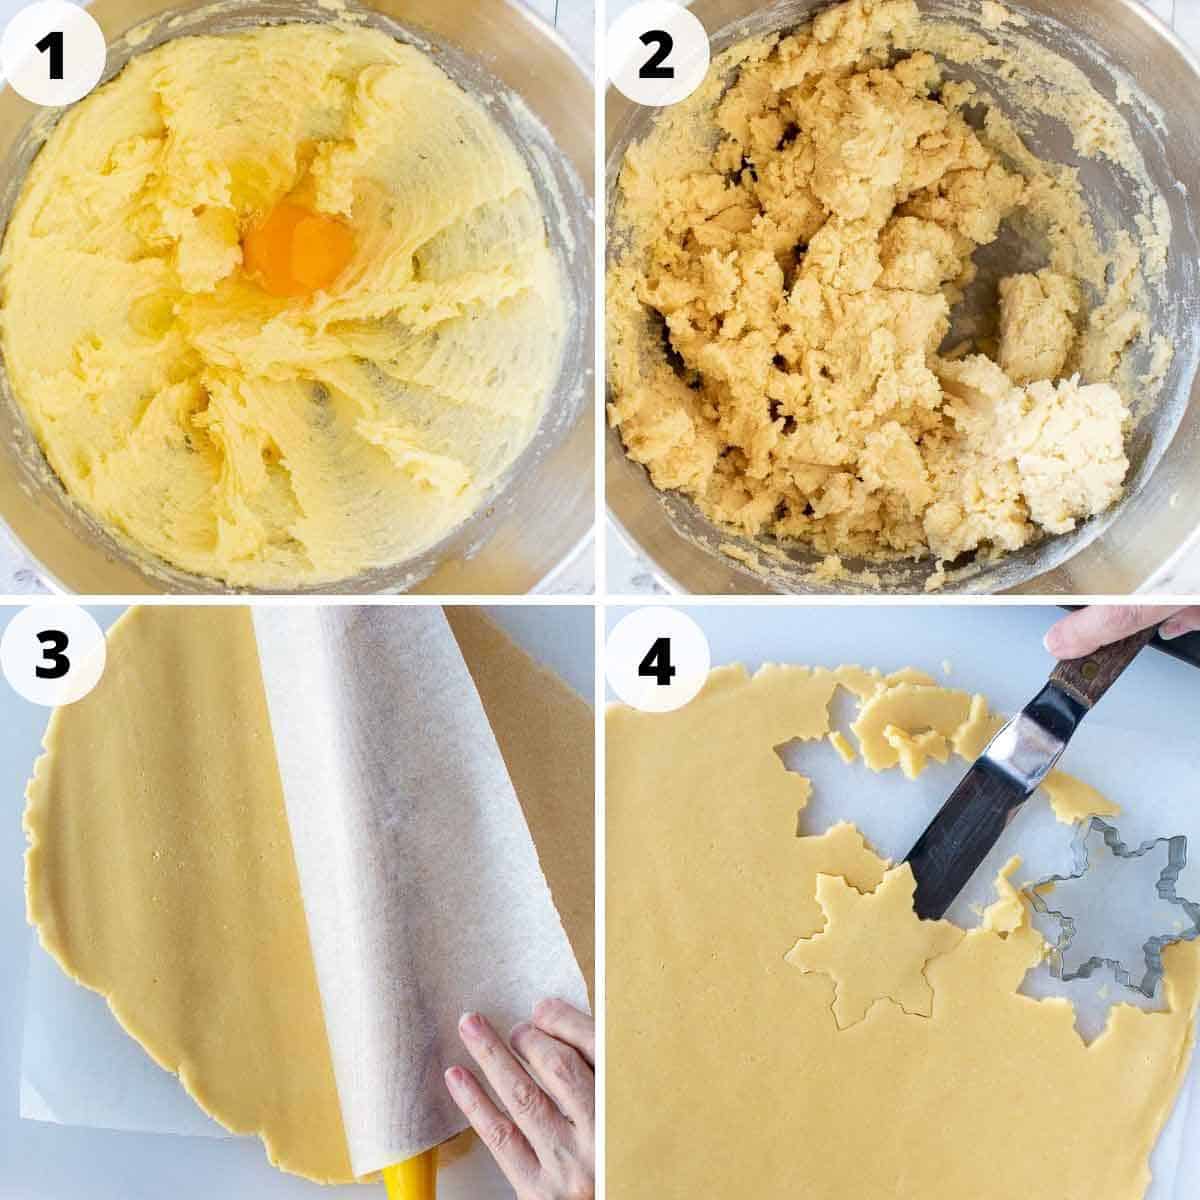
- Cream the butter and sugar then add the egg and vanilla.
- Add flour and salt. Mix to form a dough.
- Roll out dough between to sheets of non stick baking paper. Refrigerate for 30 minutes.
- Cut out shapes. Chill again then bake until just coloring at the edges.
Recipes commonly just wrap the whole ball of dough in cling wrap and then refrigerate it for an hour or overnight, but by rolling the dough between parchment, this shortens the chilling time and then it’s also been rolled out while still soft making it easier and quicker.
Christmas cookies cutters are widely available. You’ll find a variety of snowflake shapes. The one I use is 3 inches/7.5cm across. Use what you have but remember you may have to adjust baking time for smaller or larger snowflakes.
Royal Icing
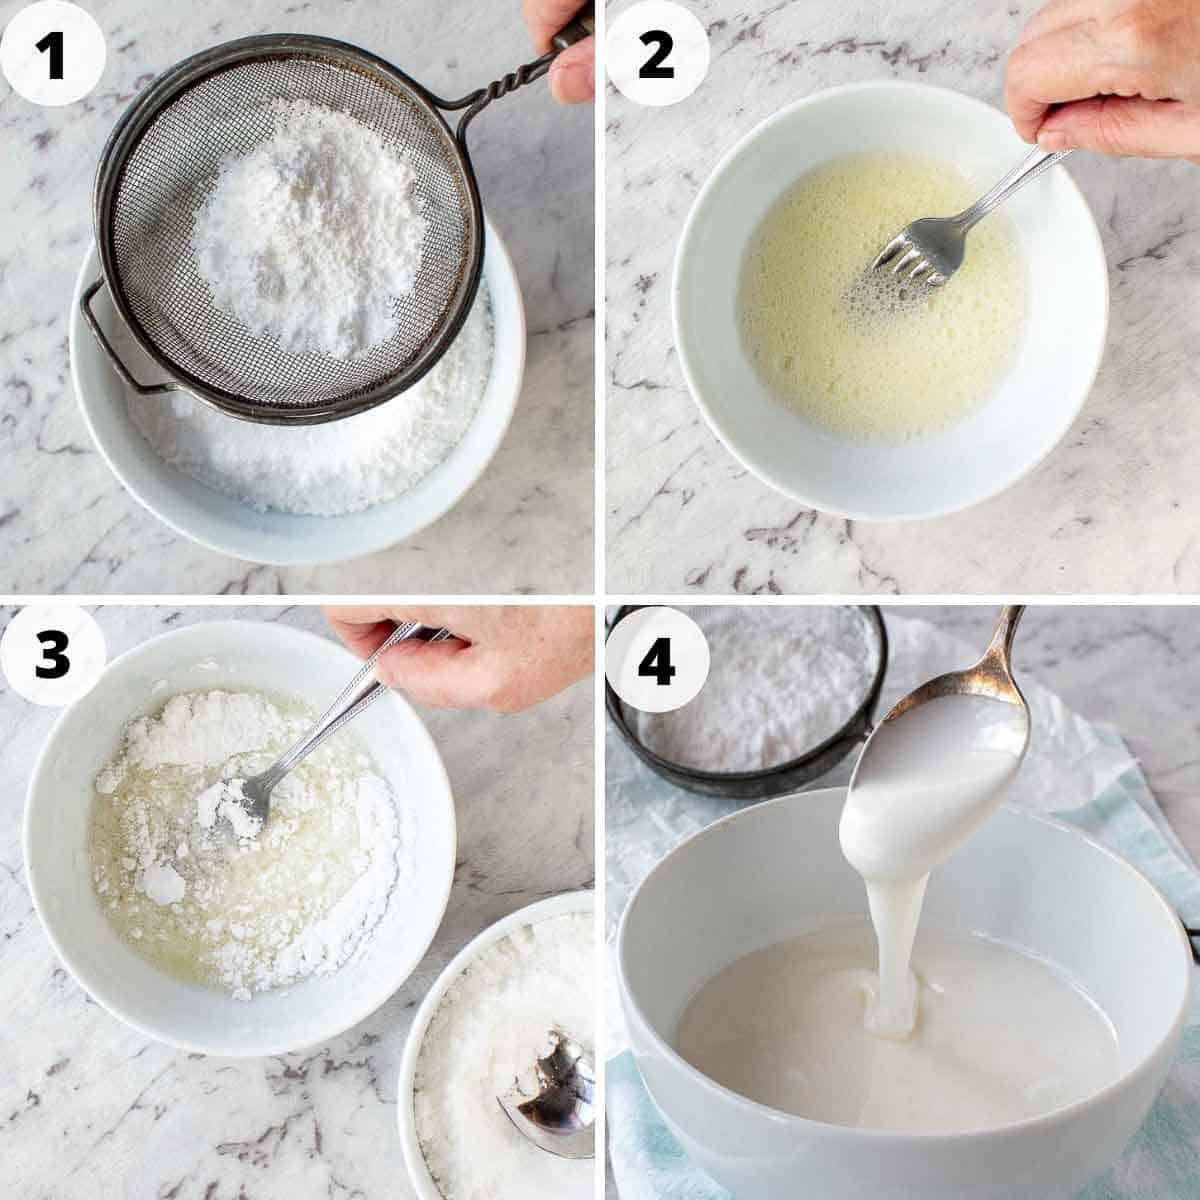
- Sift powdered (icing) sugar.
- Beat egg white until frothy.
- Add sugar gradually mixing well.
- Check consistency and add more sugar if needed.
Royal icing for piping is ready when spooned onto itself it holds it’s shape a little.
Consistency is very dependant on humidity. You may start piping and realise the icing needs adjustment. If too thick, thin with a few drops of water. If too thin, add a little sifted powdered sugar.
Easy method for decorating
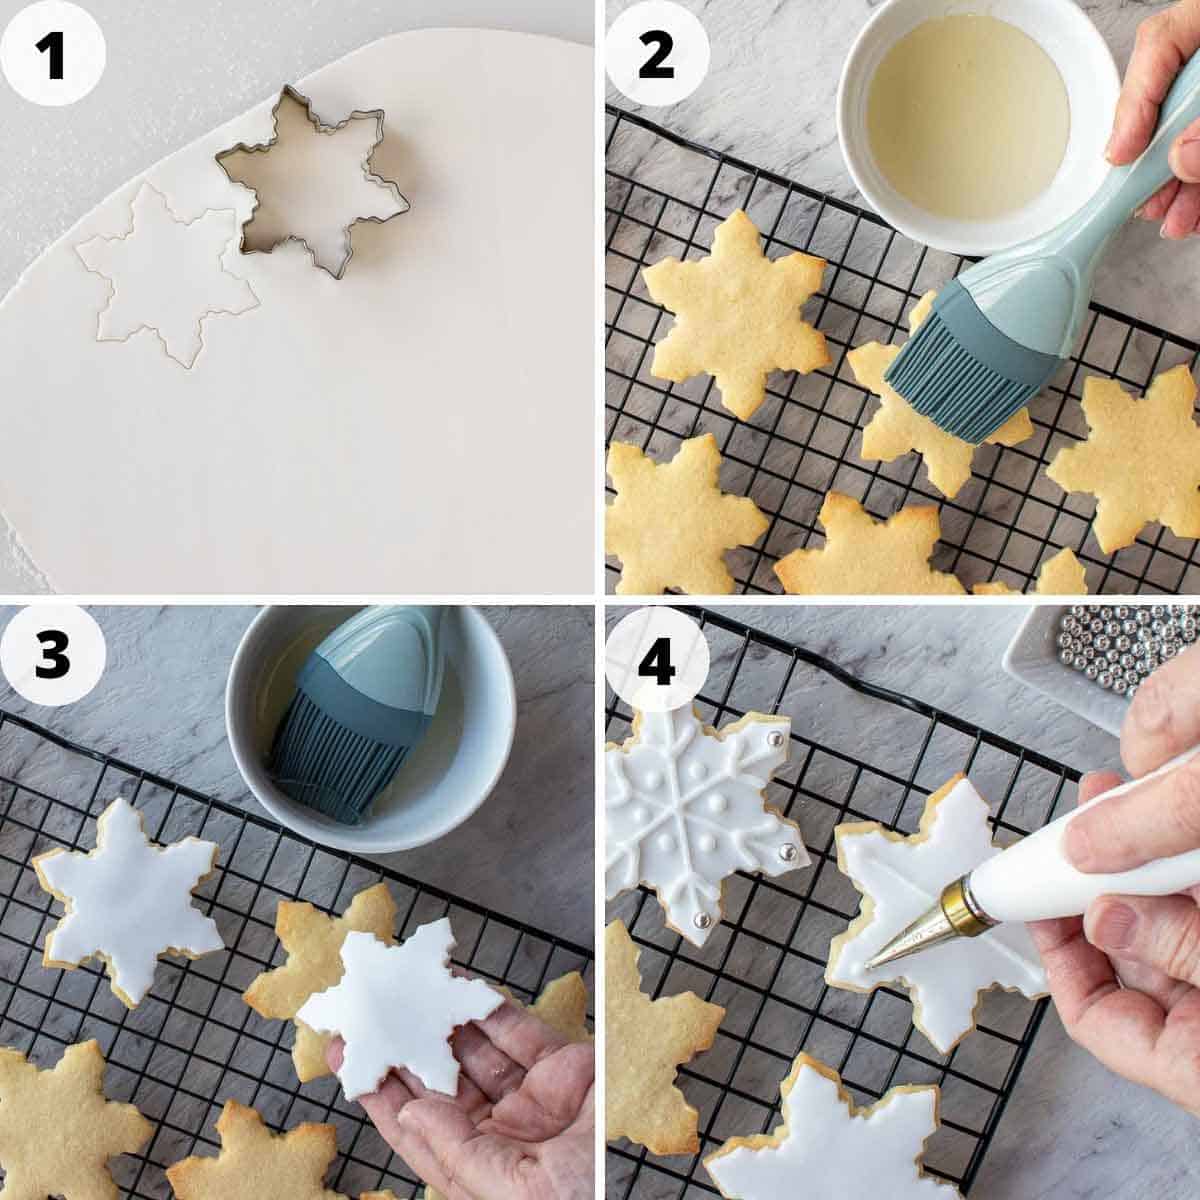
- Roll out store bought fondant thinly and cut shapes with snowflake cookie cutters.
- Brush top of cookies lightly with corn syrup.
- Top cookies with fondant shapes.
- Decorate as you wish with royal icing or any method described below.
Decorating 4 ways
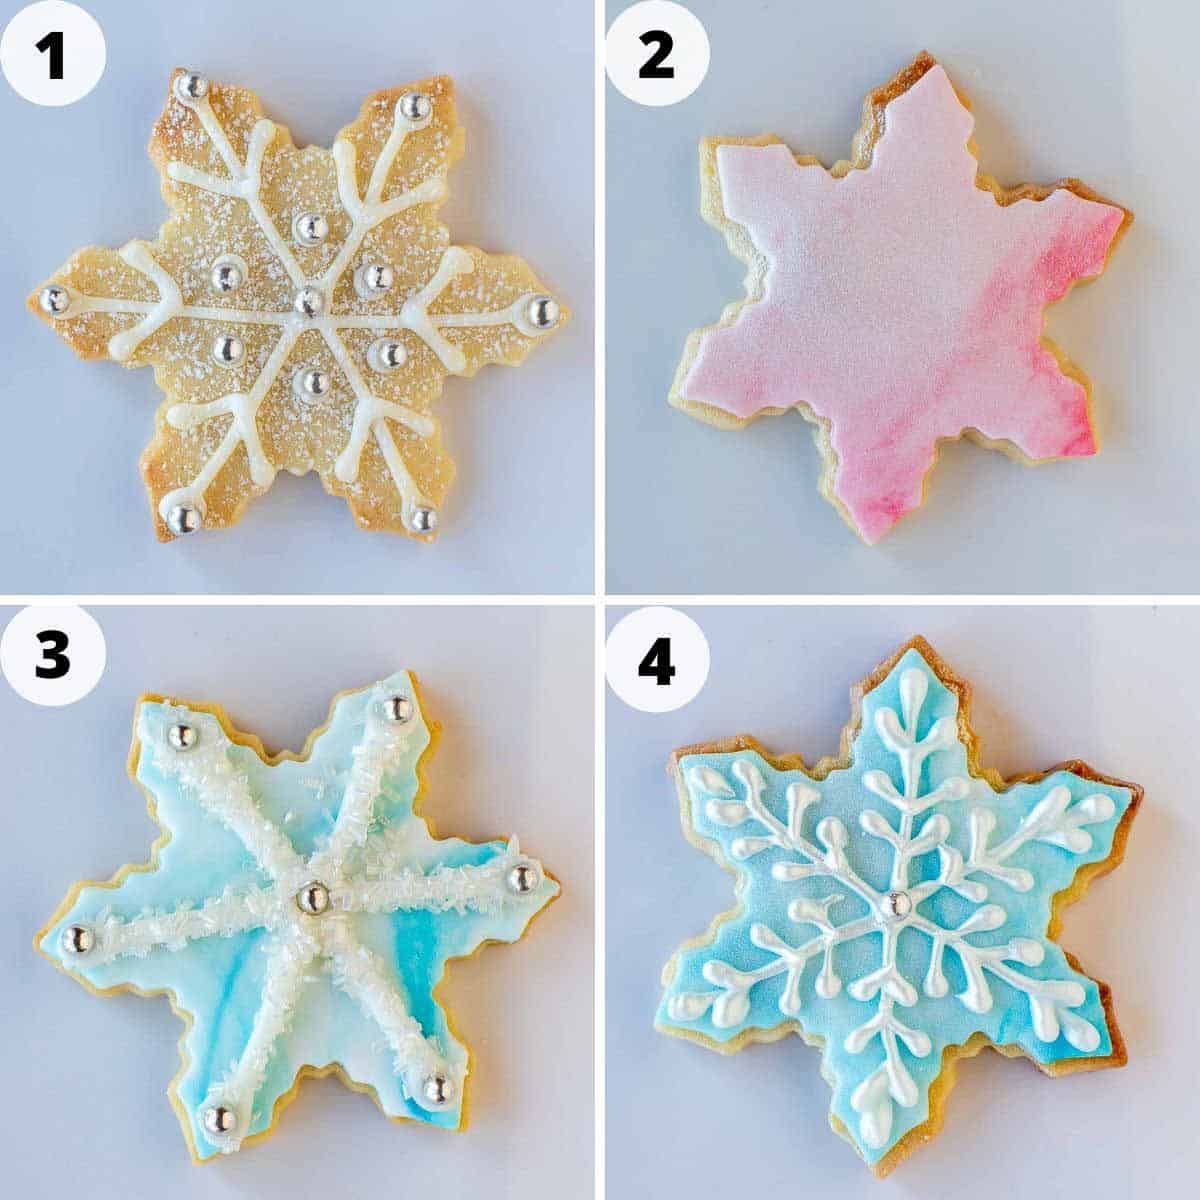
- Pipe royal icing directly onto cookies and add silver balls.
- Use colored fondant on cookie and edible lustre spray.
- Decorate with basic lines and sprinkle with sugar sparkles.
- Pipe decoratively, use silver balls and spray with edible lustre.
Many supplies can be purchase from supermarkets which even have piping kits complete with tips and disposable bags. Supermarket food color is perfectly fine in this case and there are lots of sparkly decorations available.
However for more intricate designs you will need a fine piping tip and disposable bags which are available from cake decorating supply stores and online. These stores also have glitters, sprinkles and lustre sprays.
Storage instructions
Once completely decorated, let the cookies to dry for 3-4 hours at cool, room temperature and a dry area. Humidity will affect this icing.
Arrange the snowflake cookies in an airtight container, with the largest cookies at the bottom. Put baking paper or parchment in between the layers and be sure the lid seals well.
Do not place in the refrigerator but in a cool, dark spot like the pantry.
While these cookies a best in the first week, stored properly these snowflake cookies should last as long as a month.
Tips for success and FAQ’s.
- Don’t over mix otherwise you’ll incorporate too much air and the cookies will spread during baking, losing their shape.
- It’s very important you chill cookies the second time otherwise they’ll spread while baking.
- Bake same sized cookies together otherwise mixing smaller with larger cookies could result in some cookies being baked before others are done.
- Rotate baking sheets half way through baking if your oven bakes unevenly.
- Always cover bowls containing royal icing with cling wrap or a damp cloth so that it doesn’t dry out.
- When decorating with royal icing, keep a damp cloth handy for wiping the tips. Also cover the tip with a damp cloth if switching between colors or decorating styles.
- First pipe the royal icing onto a board or plate to ensure there are no air bubbles in the end of the piping tip.
Yes! Royal icing mix is available at supermarkets or online.
Glucose syrup is a great substitute.
For the more intricate designs use a #2 however for simple lines a #3 or #4 would be fine just like the ones you get in the supermarket packs.
Yes, you can make these cookies in advance. See storage instructions above. Un-decorated cookies can be sealed in an airtight container and frozen for up to 3 months.

Made this recipe?
Let me know if you liked it by leaving a ★★★★★ star rating and a review below. Don’t forget to subscribe to my newsletter – it’s free!
More Christmas Recipes
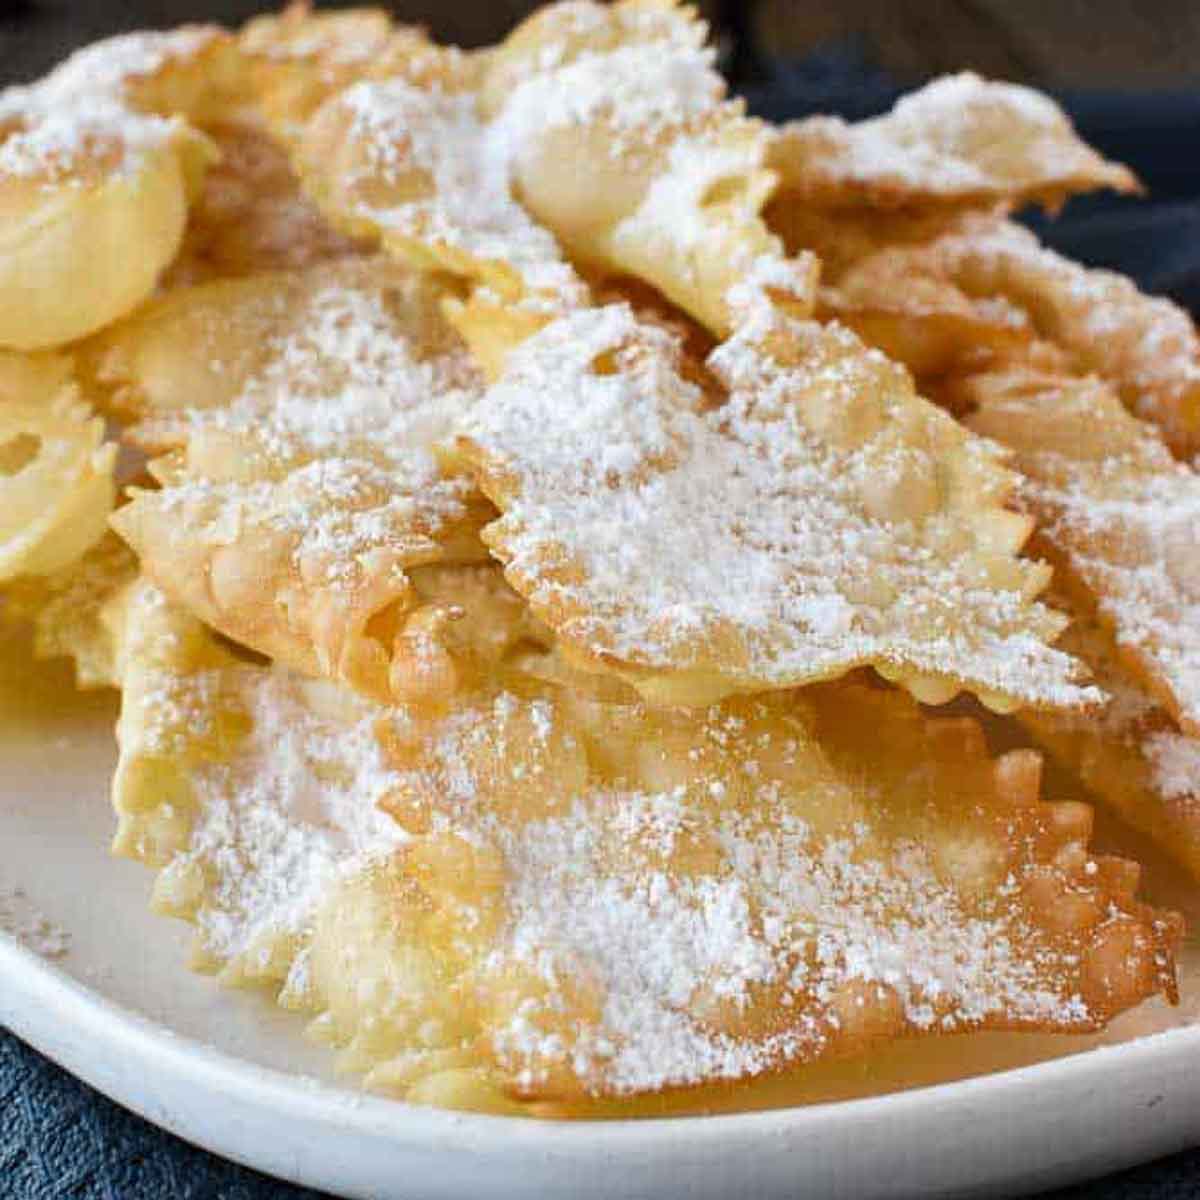
Crostoli
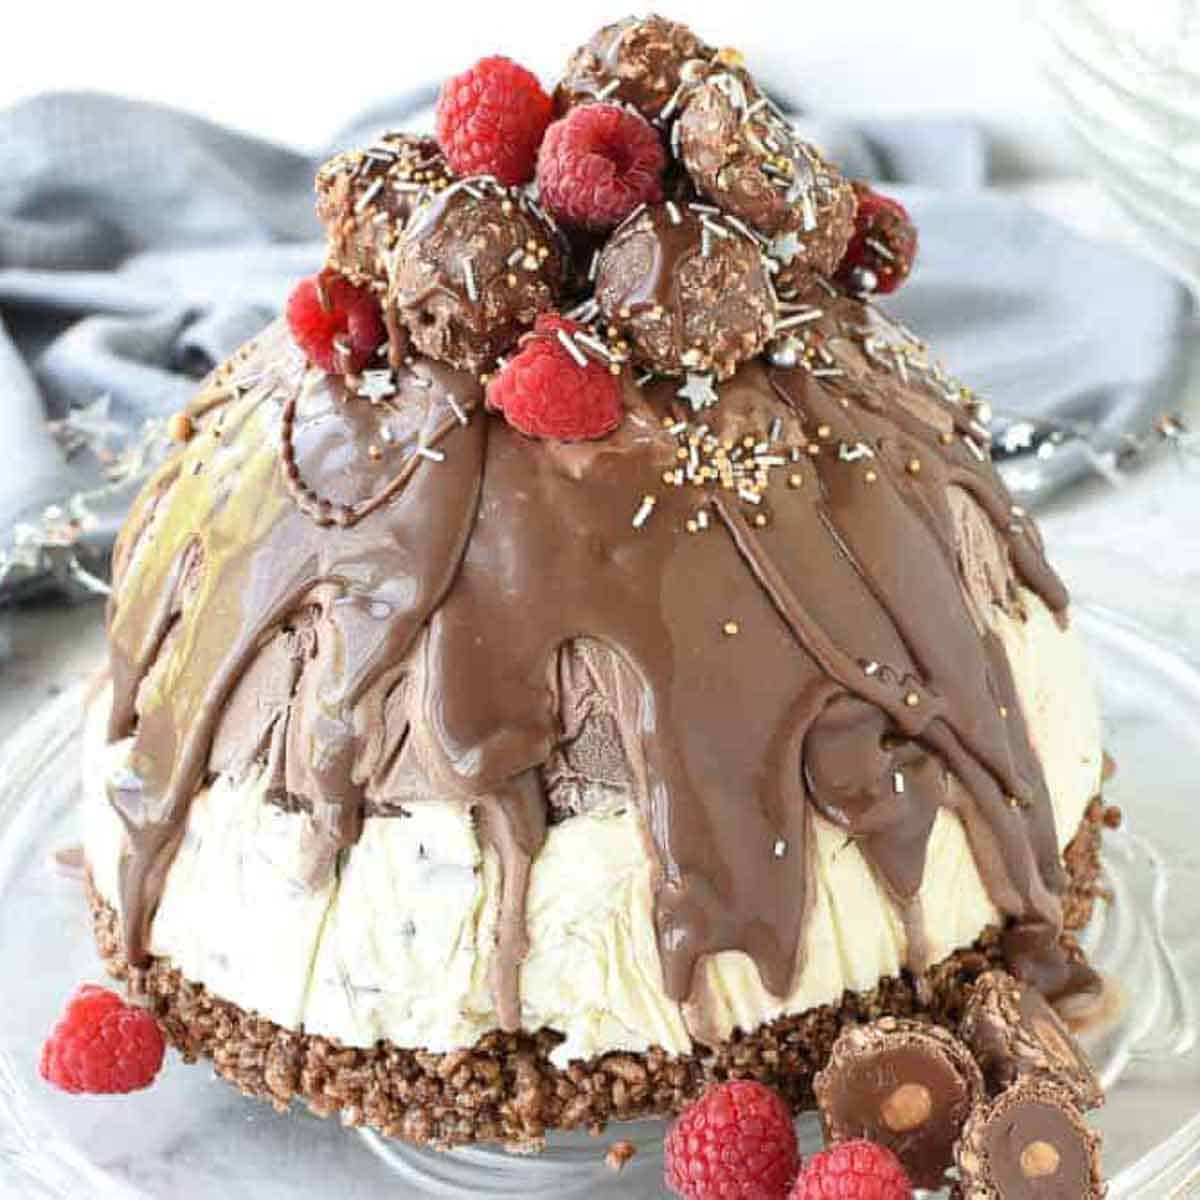
Gingerbread Pizzelle
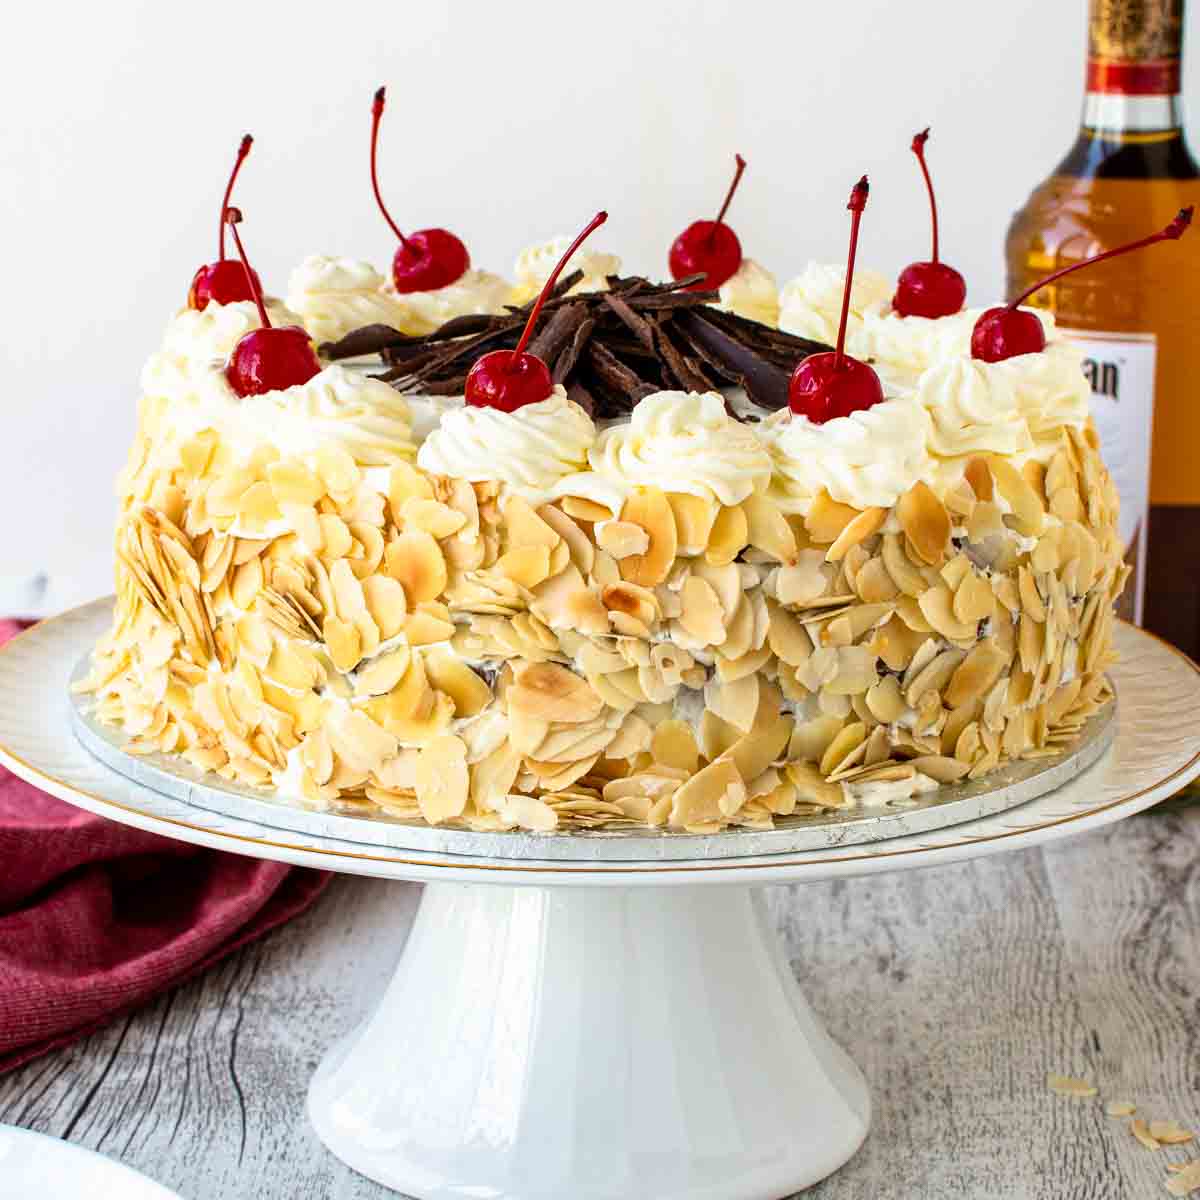
Chocolate Panettone

Snowflake Cookie Recipe
Ingredients
- 7 oz (1¾ sticks/200 grams)unsalted butter at room temperature
- 1 cup (200 grams) superfine (castor) sugar
- 1 large egg
- 1 teaspoon vanilla extra
- 3 cups (400 grams) all purpose (plain) flour
- ⅛ teaspoon salt
Royal Icing
- 1¾ cups powdered (icing) sugar plus extra as needed
- 1 egg white see notes for using pasteurized egg white
- 1 teaspoon lemon juice
To Decorate
- 1 pound (450 grams) ready to roll fondant
- 3 tablespoons corn syrup
- food color, if desired
- silver balls, glitter, pearl lustre spray etc to decorate
Instructions
- Cream together the butter, sugar and any flavourings you’re using. Beat until just becoming creamy in texture.
- Beat in the egg until well combined, make sure to scrape down the sides of the bowl.
- Add the sifted flour and mix on low until a non sticky dough forms.
- Knead into a ball and divide into 2 or 3 pieces.
- Roll out each portion between parchment paper to a thickness of about ¼ inch/6mm
- Refrigerate for a minimum of 30 minutes.
- Once chilled, peel off parchment and place dough on a lightly floured surface.
- Cut out shapes with cookie cutters or a sharp knife.
- Arrange shapes on parchment lined baking sheets and refrigerate for another 30 minutes to an hour.
- Re-roll scraps and follow the above process until all scraps are used up.
- Preheat oven to 350ºF/180°C.
- Bake until golden around the edges, about 10-12 minutes.
- Leave to cool on wire racks.
Royal Icing
- Sift powdered (icing) sugar into a bowl.
- In a medium bowl, lightly whisk egg white and lemon juice until frothy.
- Add sugar gradually, mixing after each addition.
- Once all powdered sugar is added, check consistency. Using a spoon, the icing should hold it's shape for 5-10 seconds before it softens.
- Consistency is very dependant on humidity. You may start piping and realise the icing needs adjustment. If too thick, thin with a few drops of water. If too thin, add a little sifted powdered sugar.
To decorate with royal icing
- Snip off the end of a disposable piping bag and fit with a round #2, #3 or #4 piping tip.
- Fill with a few tablespoons of icing.
- Pipe lines or swirls on sugar cookies. Sprinkle with edible glitter or other embellishments.
- Allow to dry at cool, room temperature for 3-4 hours or until completely hardened.
To decorate sugar cookies with fondant
- Knead the fondant until softened and pliable. It may be easier to do in smaller portions.
- Dust a work surface with a little sifted powdered sugar.
- Divide the fondant into thirds and roll out on work surface until ⅛ inch/3mm using a little powdered sugar to avoid sticking. Too much sugar will cause the fondant to dry out.
- Using the same snowflake cookie cutters you used for the cookie dough, cut snowflakes out of the fondant.
- Brush top of a cookie with corn syrup. Don't use too much. Just enough for the top of the cookie to be tacky.
- Carefully lift a fondant snowflake and lay onto cookie where the corn syrup will glue the two together. Press lightly to smooth.
- Finish as desired. Just spray with lustre spray or use royal icing to decorate. Add other edible embellishments as you like.
- Allow to dry at cool, room temperature for at least 3 or 4 hours until completely hardened.
How to color fondant for marbled effect
- Take a small portion of fondant. For example if you want to use three colours like I have (white, pink and blue) divide the fondant into thirds. Keep one third white and color the other to portions separately.
- Press out the fondant into a flattish shape, nothing to exact.
- Dot with a few spots of food color.
- Fold or roll up fondant and start pressing and kneading.
- Stop kneading when you have some areas that are still white, some areas a pale shade of your chosen color and some areas of deep color.
- Roll out as described above.
Notes
- Don’t over mix otherwise you’ll incorporate too much air and the cookies will spread during baking, losing their shape.
- Recipes commonly just wrap the whole ball of dough in clingwrap and then refrigerate it for an hour or overnight, but by rolling the dough between parchment, this shortens the chilling time and then it’s also been rolled out while still soft making it easier and quicker.
- It’s very important you chill them again otherwise they’ll spread while baking.
- Bake same sized cookies together otherwise mixing smaller with larger cookies could result in some cookies being baked before others are done.
- Rotate baking sheets half way through baking if your oven bakes unevenly.
- If wrapped in tinfoil/cling wrap or kept in airtight containers in a cool place, un-decorated cookies can last up to a month.
Nutritional Estimate Per Serving
Nutritional Disclaimer
Nutritional information is an estimate provided by an online nutrition calculator. For accurate results, it is recommended that the nutritional information be calculated based on the ingredients and brands you use.
This updated and improved recipe was first published on 24 December, 2010.






These are so cute! So fun to make and eat!
Loved making these snowflake cookies with my family. They turned out great!
Both beautiful and so tasty!
Perfect decoration, dear Marcellina ! I think they are so beautiful gifts ! Works of art indeed ! Thank you for sharing !
Thank you Davorka!
Awesome cookies
So glad you like them!
They are absolutely gorgeous! You are such an amazing baker.
Thank you so much, Angie! So kind of you. I do hope my explanation helps anyone who wants to make gorgeous snowflake cookies achieve similar results.
These are beautiful! Where did you get the cookie cutters? Great job!
These are so pretty!
These are beautiful individual works of art. Almost seems a shame to eat them.
Ciao! Buon Natale!! These cookies look delicious!