Pizza Bread
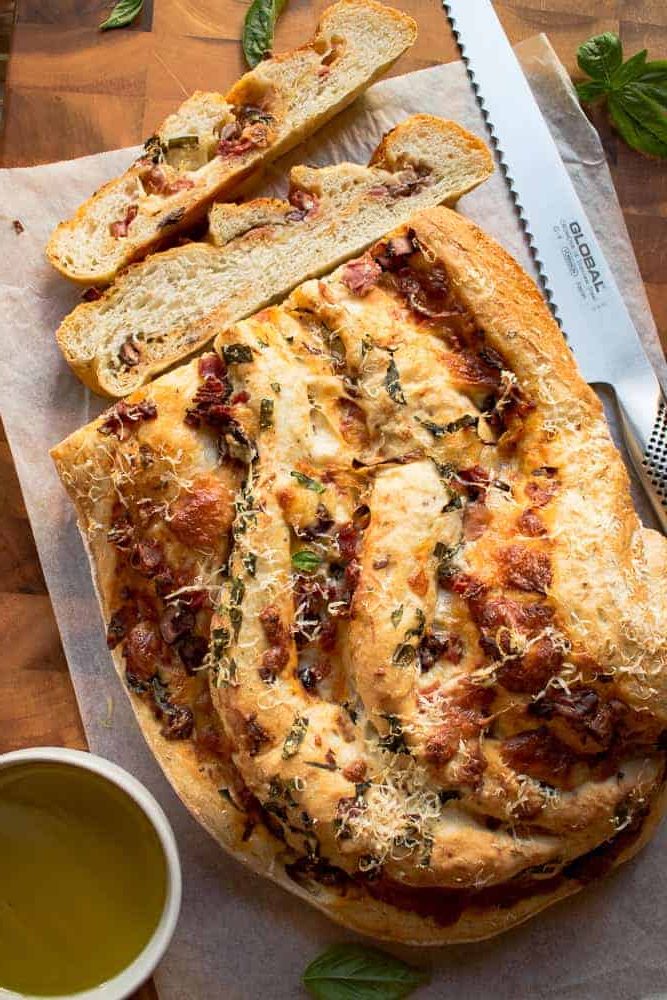
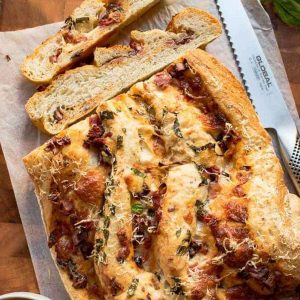
Pizza Bread is a wonderful homemade bread filled with all the pizza toppings you love.
Cleverly cut and twisted, this bread is as beautiful as it is tasty. Pizza Bread goes perfectly with a bowl of warming soup.
Yeast Explained
My Pizza Bread is made using a yeast dough just like this Nutella Bread. If you’ve never baked with yeast before, fear not! There are really only three things to get right.
- Live (fresh as opposed to stale) yeast
- The right water temperature
- Time
Serve this up with some of my delicious cavatelli pasta or this Chicken Pizzaiola or all on it’s own. So tasty.
If you’re looking for a recipe using ready made bread be sure to try my Ciabatta Garlic Bread or this Philly Cheesesteak Bread
Ingredients
I like to use active dried yeast which comes in 7g sachets. This yeast is easy and convenient and has a long shelf life. Always check the date on the packet. But the best test to check the yeast is to mix it with warm water and a little sugar. If the yeast is not bubbly and frothy after 10-15 minutes, it’s most likely dead and can’t be used.
Warm water is used to activate and wake up the yeast. It’s important to get the water temperature correct. For active dry yeast this is 105 and 110°F (about 40 – 45°C). This correct temperature allows the yeast to fully dissolved and active. Too cold the yeast will lie dormant, too hot and the yeast will be killed.
Baking with yeast is not meant to be rushed. It takes time for the rising to happen. If the room temperature is cold, find a spot in the sun for the dough to rise. Or do as I do, put a little warm water in the sink, place the bowl into the water and cover with a cloth to trap the warmth and moisture in. Remember too hot and you will kill the yeast. The dough is ready when it’s press with a finger and the indentation doesn’t spring back.
Instructions
Yes, this cut and twisted Pizza Bread looks tricky. But it’s not. I got the idea for shaping this bread here
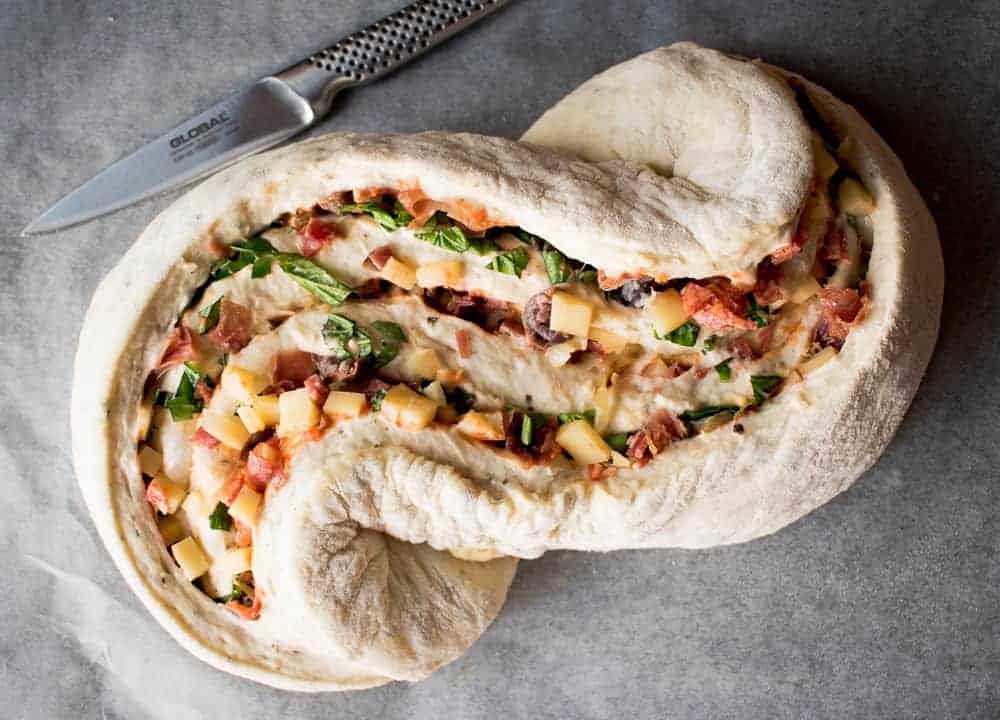
Firstly on a sheet of non stick baking paper, roll out the dough into a large oblong shape.Then top with the pizza sauce, cheese, meats and basil. Now roll up along the long side into a swiss roll shape. Press the ends to seal. Take a sharp knife and cut into the Pizza Bread starting a little way in from the sealed end. Cut the length of the roll and cut into two layers of bread dough. The roll will want to open up but remember it’s not cut all the way to the end, so it won’t. Carefully twist the roll to form and “S” shape. Finally just tuck the ends under as if you are making a figure “8”.
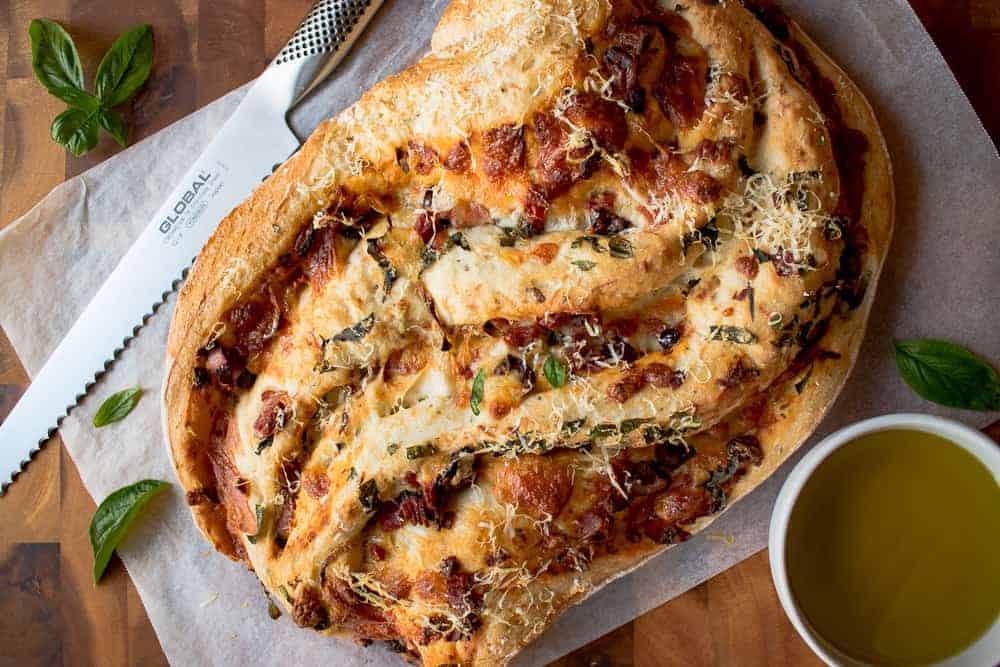
And there you have it – your very own Pizza Bread !
Once you get the hang of if, yeast baking is rewarding and fun. Just follow the 3 rules of yeast baking and soon you’ll be baking lots of different breads. You can also try my Ligurian focaccia, Cheese Bread with Bacon or even crunchy Grissini breadsticks. That’s not to mention the delicious sweet breads but that’s a whole other story!
More recipes like this
Bacon Egg and Cheese Croissants
Made this recipe?
Please let me know if you liked it by leaving a ★★★★★ star rating and a review below. And remember to subscribe to my newsletter – it’s free!
Pizza Bread Recipe
Ingredients
- 2¼ teaspoon active dried yeast (7g sachet)
- 1 teaspoon sugar
- 1½ cups warm water
- 3 cups bread flour more if needed
- 2 teaspoons bread improver optional
- 2 tablespoons olive oil
- 2 teaspoons dried oregano
- 1 clove garlic (crushed)
- 1 teaspoon salt
- ½ teaspoon freshly ground black pepper
Filling
- 1 tablespoon olive oil
- 1/2 onion (sliced thinly)
- ¼ cup pizza sauce (homemade or store bought)
- 1 cup mozzarella cheese (diced)
- 1 cup diced prosciutto and/or Italian salami
- 1/3 cup black olives (stoned and chopped)
- 1/3 cup basil leaves (shredded)
- 1/3 cup grated parmesan (plus more for sprinkling)
- Egg wash to glaze (optional)
Instructions
- In a small bowl mix the yeast, 1/4 of the warm water and the sugar. Allow to stand for 5 – 10 minutes until frothy.
- In a stand mixer bowl combine the yeast mixture with remaining warm water, flour, bread improver (if using), olive oil, oregano, finely chopped garlic clove, salt and pepper. Using a stand mixer with a dough hook attached (or you can mix by hand), knead on low for 10 minutes until smooth, elastic and slightly sticky. If you are using a stand mixer the dough should stick to the bottom of the bowl. If it seems very sticky add a little extra flour one teaspoon at a time.
- Oil a large bowl and scrape the dough into it. Cover with plastic wrap and place in a warm place for 1 ½ hours until doubled in size.
- While the dough rises, heat oil in a pan and fry onion until just caramelized. Allow to cool before using.
- Prepare a large flat baking tray by lining with baking paper.
- Dust a work surface with flour and turn out the dough. Roll into an oblong shape about 30cm x 40cm.
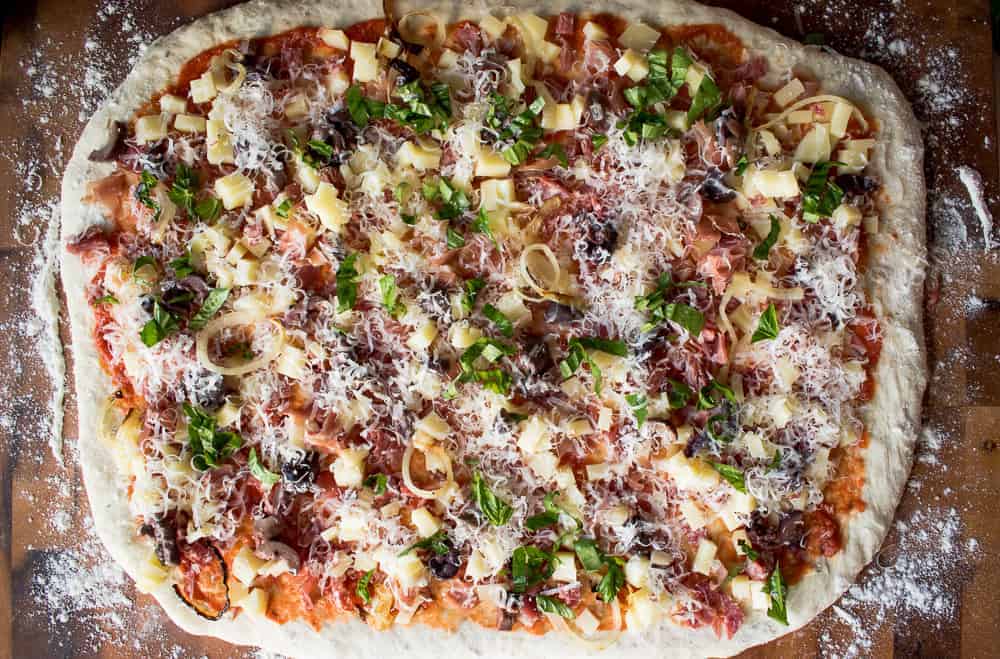
- Spread pizza sauce evenly over the dough then evenly scatter mozzarella, prosciutto/salami, black olives, caramelised onion, basil and grated parmesan.
- Roll the dough starting from the long side into a log. Pinch edges to seal. Place on baking paper lined tray, seam side down.
- Lightly oil a sharp knife. Start a 1inch/2cm from one end and cut the log lengthwise down the center 1inch/2cm deep, to within 1inch/2cm of the other end, to reveal the filling and layers.
- Keeping the cut side up, carefully twist the log into an “S” shape then tuck the ends under to form a “figure 8”.
- Lightly cover with plastic wrap and allow rising for 45 minutes.
- While the dough is rising preheat oven to 350°F/180°C
- When ready, brush with egg wash if desired and sprinkle with extra parmesan cheese.
- Bake for 30 minutes until golden brown.
- Transfer to a wire rack to cool slightly.
- Best served warm. Cut into slices with the Global Ikasu Bread Knife.
Notes
- I like to use a combination of prosciutto and salami. You can also use ham or pepperoni.
Nutritional Estimate Per Serving
Nutritional Disclaimer
Nutritional information is an estimate provided by an online nutrition calculator. For accurate results, it is recommended that the nutritional information be calculated based on the ingredients and brands you use.




I need a video on how to make the pizza shape. I’m challenged with written directions any chance you can help
Hi Marietta, unfortunately I haven’t made a video for this bread. The next time I make it, I will video it and send it to you. This is the link to the recipe that I got the idea from https://redstaryeast.com/recipes/pane-bianco/ – have a look it might help as well. However…
It’s not as hard as it sounds.
Roll up the dough with the filling like a swiss roll.
Seal the ends.Then starting in from the ends at bit, cut down the centre but not all the way through to the bottom and not all the way to the ends. The swiss roll will be intact at the bottom and on the sides.
Then without lifting it, just push one end one way and the other end the other way to form an “S” shape.
Tuck each end under so that it looks like a figure 8.
Let me know if I can help any further. xx
Wow, what a beauty. I wish I had a few slices of that right now. I’ll be bookmarking this to make when the weather is a bit cooler.
Thank you, Linda! I love this pizza bread with a bowl of soup! xx
I’m drooling over here Marcellina!! Everything about this is screaming my name and I can’t wait to try it xx
Then you must try it, Cassie, I know you’ll love it 😉 xx
I am loving that crust, those flavors and these shots! Practically everything about this bread Marcellina!
I’m glad you like it, Neha! xx
Marcellina, I just am ready to take off to work and would pack several slices to carry with me . Printing for colder days that are supposed to come soon ….. Thank you so very much !
Perfect for the cooler days!
It’s late at night here and seeing this made me so hungry! Love the shape and flavors. 🙂
Ronit, I think this bread is yummy any time of the day or night!
We make our own pizzas from yeast dough, and sometimes sourdough but this takes it to the next level. It will be fun to give this shape a go. Looks absolutely delicious Marcellina. I could demolish one of these for breakfast right now. Feeling quite hungry thanks to the cold snap here. Thanks for sharing this recipe. Pauline
Thanks Pauline! Yes, warm bread is perfect in this cool weather. Enjoy shaping this bread. I’d love to see a pic of your bread when you make it. Marcellina xx