
Norwegian Cookies

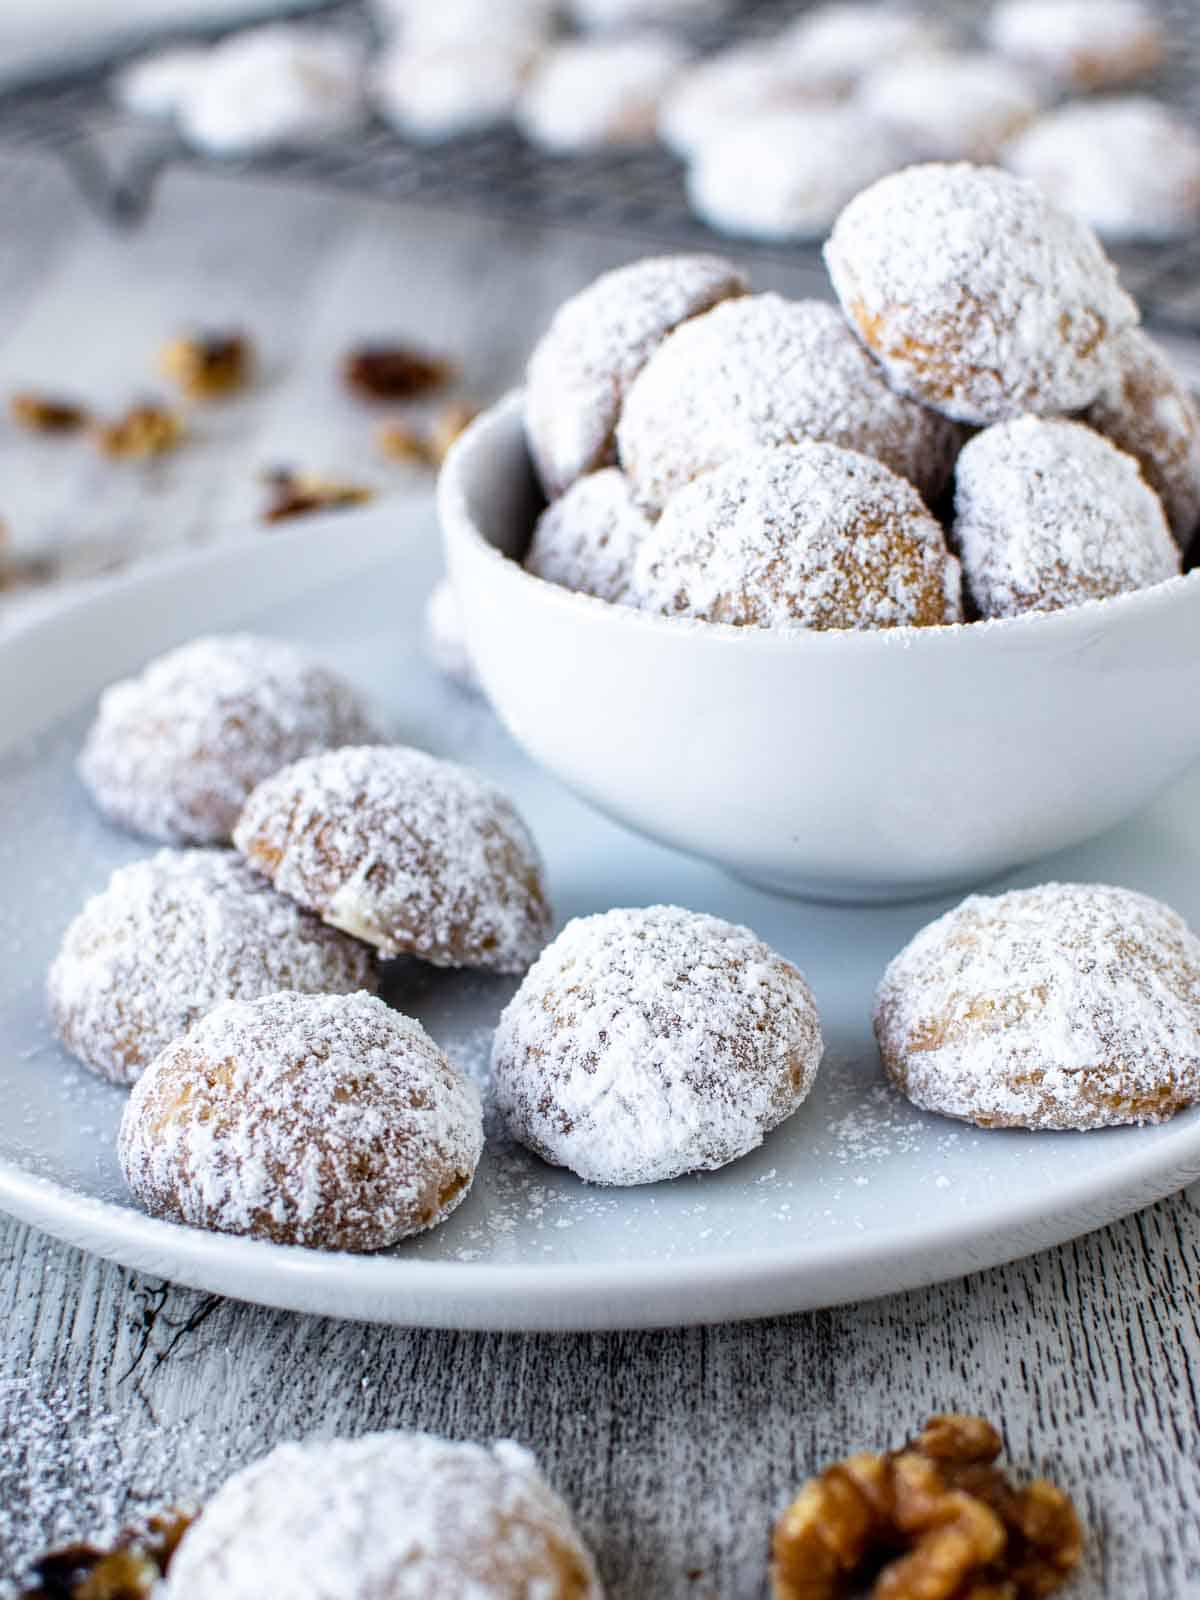
Norwegian Cookies – sometimes known as Norwegian Christmas Cookies – are melt-in-your-mouth delicious at any time of the year! Packed full of ground walnuts, these butter cookies are both wholesome and decadent in equal measure.
I adapted this recipe for Norwegian Cookies from one of my favorite cookbooks by Greg Patent, “A Baker’s Odyssey”. There are dozens of varieties of butter cookies, but I find myself returning to this version again and again. Perhaps because they remind me of my Italian Wedding Cookies or my Amaretti Cookies that are little balls of almond heaven! This style of cookie is found in many cultures and countries – from Europe to South America – but these Norwegian butter cookies still top my list.
Of course my Norwegian cookies are delightful and delicious, but they’re also great to whip up at a moment’s notice because they use common pantry ingredients. No special trip to the shop required! I love recipes that make best use of the ingredients I have at hand, so these cookies tick all the boxes.
Norwegian cookies are just a small cookie – perfect to pop into your mouth whole – and perfect to package up as a gift. I’ve got some suggestions for gift packages further down the recipe page.
And being small, light, and delicate, these sugar cookies are a wonderful accompaniment to a morning or afternoon tea. They deliver a quick little burst of happiness without ruining your appetite!
Ingredients
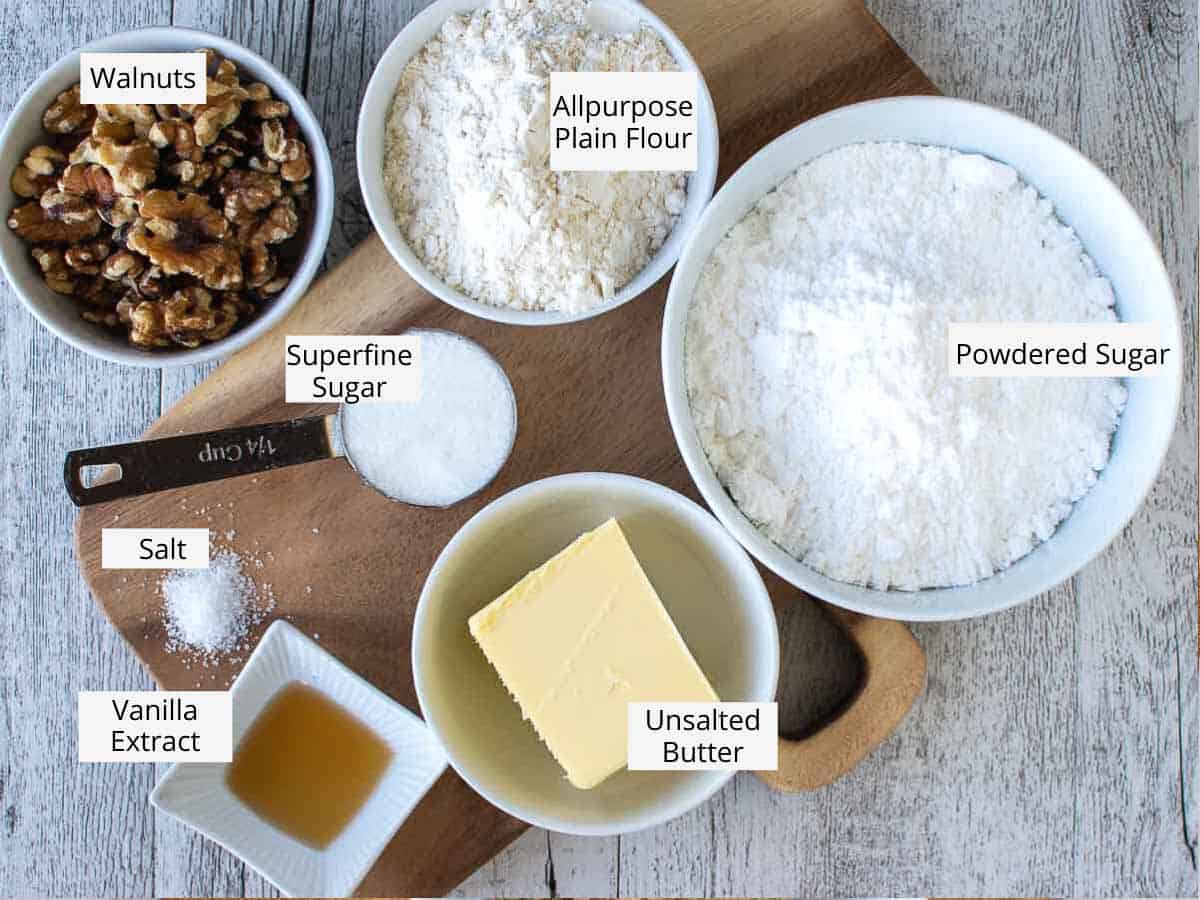
The ingredients required for these Norwegian Cookies are typical baking essentials that you are likely to already have in your pantry or refrigerator.
- Walnuts – I buy shelled walnut halves and process them myself in the food processor. However, please pay attention to how you grind nuts – and soft nuts like walnuts, in particular. If you are using a food processor, remember to just ‘pulse’ the nuts for a second or two at a time until they are the consistency of sand. If you keep the food processor on, the nuts will heat up and release their natural oil, which will turn the nuts into a nut butter or nut paste. Walnuts, being a soft nut, break down much more quickly and easily than harder nuts like almonds, so they won’t require as much processing.
- Unsalted butter – Allow the butter to come to room temperature – that is, it is still holding its shape, but if you poked it, the butter would offer no resistance at all. Room temperature butter is capable of holding tiny pockets of air, so when we add the sugar, the two work their magic together and help to create light, fluffy cookies.
- Superfine white sugar – Sometimes called caster/ castor sugar, this very fine granulated sugar is perfect for cookies. If you only have regular granulated sugar, you can turn it into superfine sugar in the food processor. Just remember that you’ll need to use slightly more granulated sugar than you want superfine sugar (because the superfine sugar packs more tightly). However, if you only have granulated sugar and no food processor, you can go ahead and use the granulated sugar. There will be a bit of a difference in your cookie at the end, but it will still be 100% delicious.
- Salt – Salt is an excellent flavor enhancer. We’re just going to use one-eighth of a teaspoon in our scrumptious Norwegian butter cookies to help bring out the nutty flavor of the walnuts.
- Vanilla extract – Vanilla extract is a natural product made from macerating and percolating vanilla pods, whereas vanilla essence is usually a synthetic product. I try to use the extract where and when I can because it offers a richer and more consistent flavor. However, I’m a big believer in using whatever is easiest for you, so if you only have extract on hand, use that – your sugar cookies will still be wonderful.
- All purpose flour/ plain flour – All purpose flour sits on the flour scale neatly between pastry flour and bread flour, which makes it useful in a wide range of baking activities. In the UK, Australia, and New Zealand, all purpose flour is known as plain flour. There is no rising agent in all purpose or plain flour.
- Powdered (icing) sugar – Powdered sugar, icing sugar, 10x sugar, and confectioner’s sugar are all exactly the same thing. It is very finely milled granulated sugar – approximately 10 times as fine as regular granulated sugar – and as such, it absorbs moisture easily. That makes it perfect for icing! And in our Norwegian cookies it adds to the delectable melt-in-your-mouth feel.
Variation
If you’re after an extra nutty taste, toast the walnuts in the oven until they just turn a light golden brown color and you can really smell their fragrance. Earlier when we were discussing the ingredients, I mentioned that nuts release their natural oils when they’re heated. With that in mind, don’t leave the walnuts in the oven for too long or they will lose some of their oil and harden. Allow the walnuts to cool completely before you grind or process them.
Alternatively, you can toast walnuts in a frying pan over a low to medium heat. Add the walnuts to a cold pan and keep them moving around the pan as it heats up. As soon as the walnuts are a golden color and you can smell them, remove them from the heat. Tip the toasted walnuts onto a cool plate and allow them to cool completely (and their natural oils to re-harden) before grinding or processing.
Norwegian cookies would work well with other soft nuts like pecans, macadamias, or cashews. Just don’t tell anyone from Norway that you’ve meddled with their baking!
Try replacing the vanilla extract with almond extract for some extra nuttiness!
When I make these in December, they become Norwegian Christmas cookies! For Christmas cookies, add a teaspoon of ground cinnamon to the powdered sugar coating (see Step 4, below).
Instructions
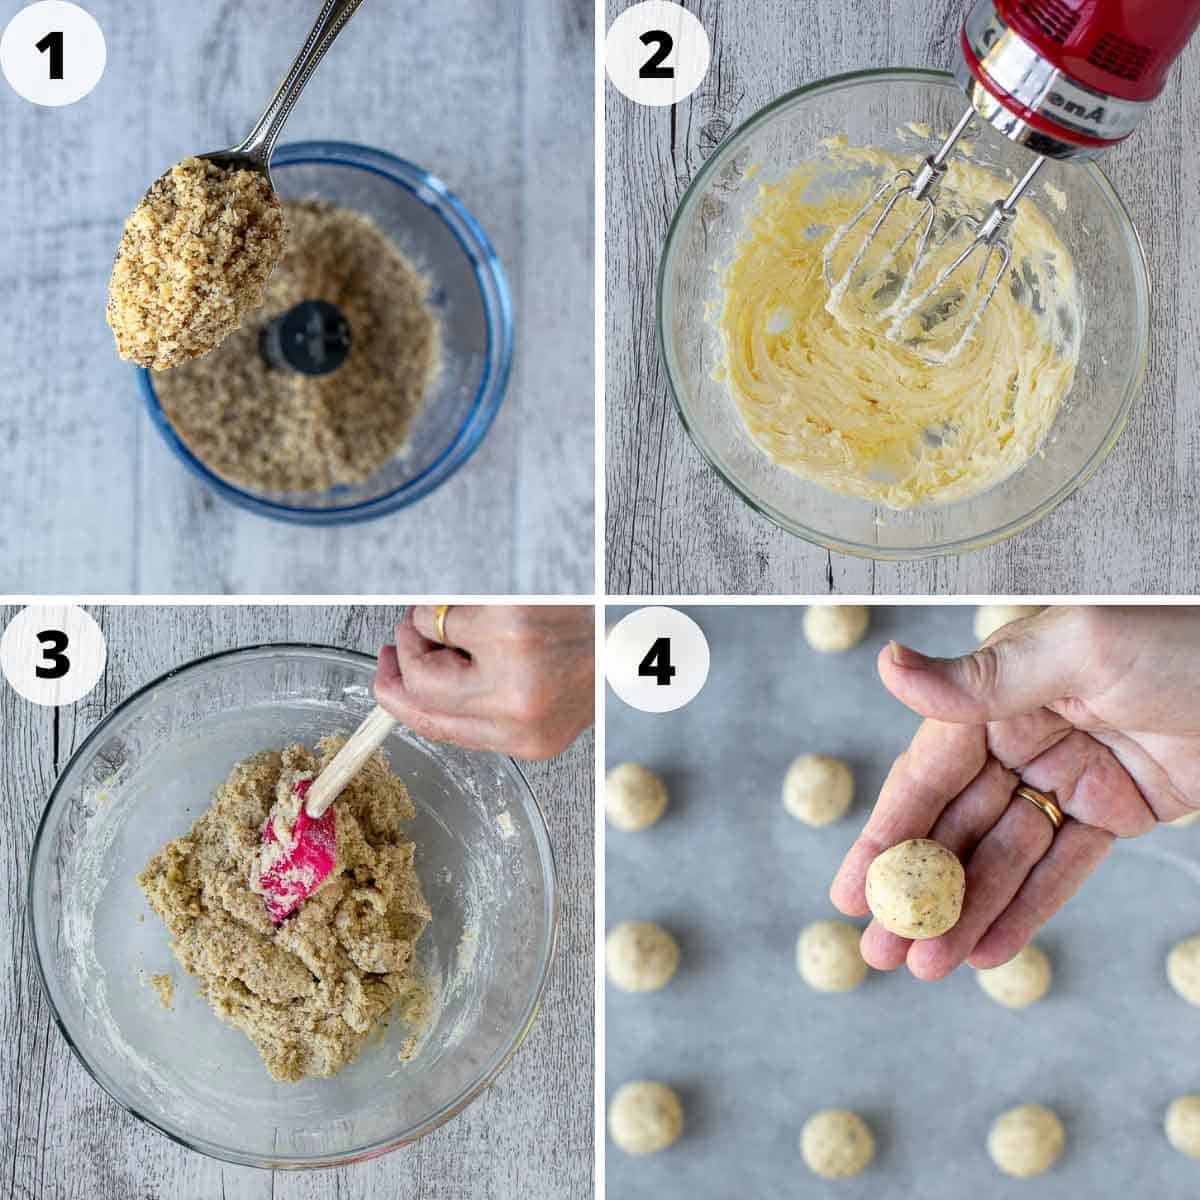
Please note that the numbered instructions below correspond to the numbered instruction photograph above.
Preheat your oven to 350ºF/180ºC and line your baking sheets with non-stick parchment paper.
- Grind the walnuts. Be careful not to over process or you will end up with nut butter!
- Beat the butter with sugar and vanilla, then add walnuts, flour and salt.
- Form the cookie dough into small balls and place them onto the baking sheets. Leave a little room to allow the cookies to puff up a little bit.
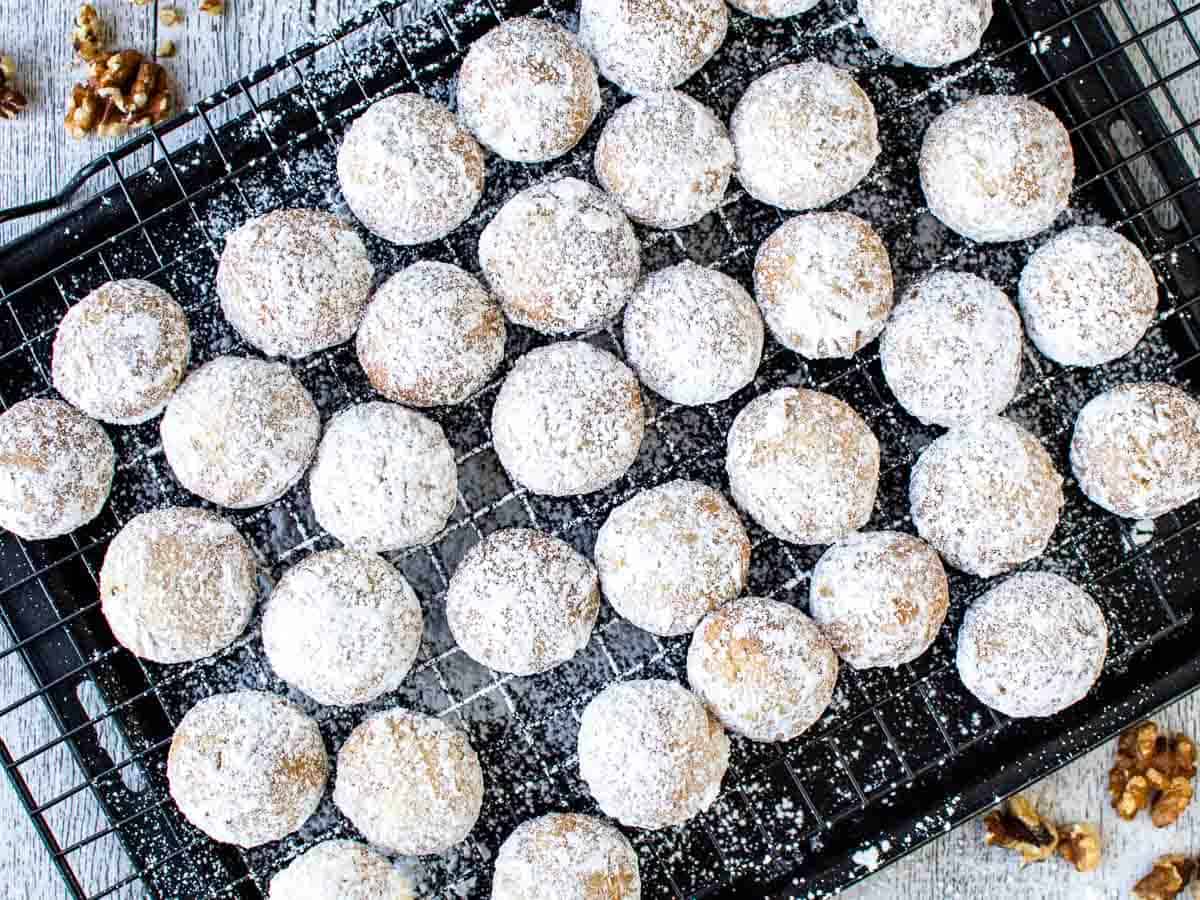
- Bake until pale golden brown then coat in powdered sugar.
After the cookies have cooled, dust a little more powdered sugar over the top, and enjoy with a cup of tea.
Tips for success and FAQ’s
Make sure to use butter at room temperature so that it retains its tiny air pockets and combines completely with the other ingredients.
I prefer to cook with unsalted butter because it gives me control over how much salt is in my recipe. However, if you only have salted butter, you can use it, but then don’t add salt.
If you don’t have a food processor, you could grind the walnuts using a hand held mouli grater. Alternatively, you can process the walnuts by hand. To grind by hand, put all the walnuts into a large bowl, then press the bottom and sides of a slightly smaller bowl down on top of them. Make sure to press the smaller bowl into the sides of the larger bowl, as well as downwards. Turn the larger, bottom bowl and shake a little, then repeat the process. Once the nuts have broken up into smaller pieces, tip them out onto a chopping board and chop with a large knife.
If using a food processor, just pulse a few times until you have reached a sandy consistency with a few chunkier pieces. The important thing here is not to end up with nut paste, which will happen if the nuts get too warm and release their natural oils. The walnuts need to be light and fluffy not stuck together.
Try to roll the Norwegian butter cookies in powdered sugar while they’re still a little warm. While warm, the oil from the walnuts will still be close to the surface and will help the powdered sugar to stick. I have suggested using two forks to help you to handle the cookies while they’re warm so it’s less messy. The second coating of sugar can be sifted over when the cookies have cooled completely.
Yes, these are tiny, bite-sized cookies but you can make them a little larger. In that case, they may require a little more time in the oven.
Norwegian cookies will keep in an airtight container at room temperature for about 1 week. If the weather is hot or humid, keep the container in the refrigerator.
Yes – you can freeze baked Norwegian cookies by putting them into an airtight container with baking paper between the layers. When they thaw, just sieve another coating of powdered sugar over them. Alternatively, you can freeze the cookie dough before baking. Just wrap in aluminum foil before placing them into an airtight container in the freezer. No need to thaw the cookies before baking them – simply add a couple of minutes to the baking time. Baked or not, Norwegian Christmas cookies will freeze for up to one month.
Serving Suggestions

These lovely little sugar cookies are delightful on their own or with a hot drink – no frills or fuss. They’re easy to eat, but I must warn you that it’s difficult to stop at just one!
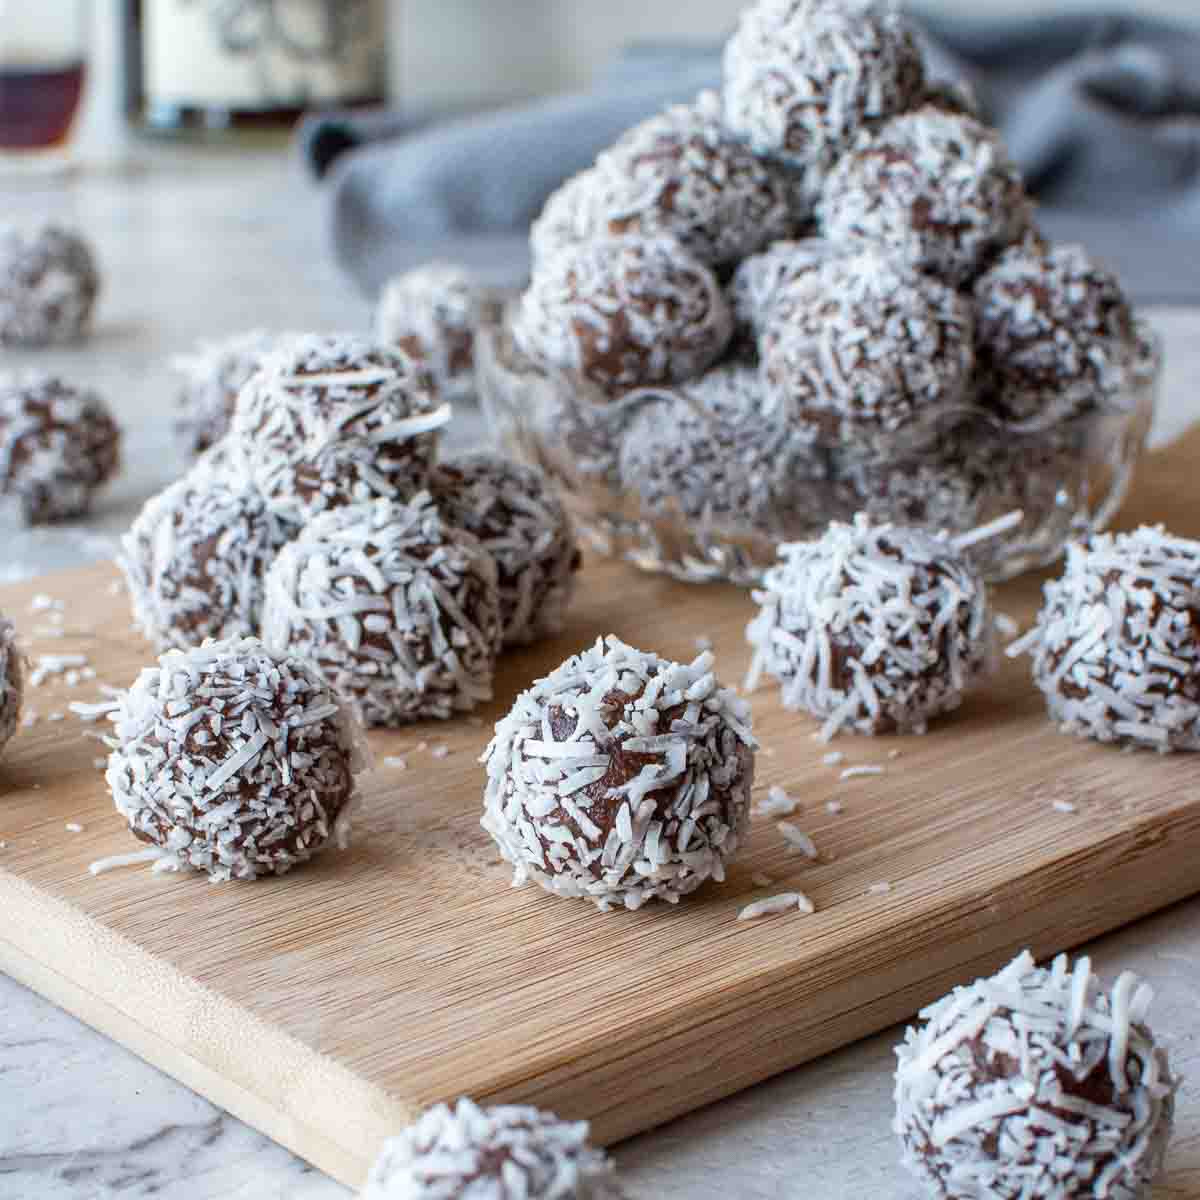
If you’re looking to put together a beautiful and thoughtful gift package – at Christmas or any time of the year – Norwegian cookies look lovely wrapped in clear cellophane and tied with colored and curled ribbon. If it is a gift of Christmas cookies you’re looking to create, add some of my Snowflake Cookies decorated easily with fondant, and Chocolate Salami – a fun, nutty and chocolatey no-bake treat.
When I’m feeling particularly indulgent, I’ll serve them with a little dollop of Mascarpone Cream – it’s eggless, delicious, and very quick and easy to make.
I would love to hear your feedback after making these lovely little sugar cookies – and be sure to let me know if you used any of my variations!
More Recipes Like This
Made this recipe?
Please let me know if you liked it by leaving a ★★★★★ star rating and a review below. And remember to subscribe to my newsletter – it’s free!

Norwegian Cookies Recipe
Ingredients
- 1 cup (approximately 1 cup/100 grams) walnuts
- 4 ounces (8 tablespoons/115 grams) unsalted butter at room temperature
- ¼ cup superfine (castor) white sugar
- ⅛ teaspoon salt
- 1 teaspoon vanilla extract
- 1 cup (125 grams) all purpose plain flour
- 1 cup powdered (icing) sugar
Instructions
- Prepare the cookie sheet by lining with non-stick parchment paper and preheat the oven to 350ºF/180ºC.
- Grind the walnuts finely in the food processor. Be careful not to over process because it will create a nut butter. Set aside.
- Beat the butter with an electric mixer until smooth and creamy. Add sugar, salt and vanilla and beat for 1 or 2 minutes until smooth and fluffy.
- With a wooden spoon stir in the nuts, then stir in the flour until the dough gather into a mass. Knead the dough briefly in the bowl until it comes together.
- Divide the dough into 36 equal parts. Roll each into a ball and place on the lined cookie sheet. Allow room for the cookies to puff a little.
- Bake until the cookies are a very pale golden brown all over 10-15 minutes.
- Allow the cookies to cool for 10 minutes or so then sieve the powdered sugar into a large flat bowl. Use two forks to roll the cookies to coat lightly with sugar. Dust of excess sugar and set on wire racks to cool. Repeat with the remaining cookies.
- Sift more powdered sugar over the cookies when cool.
- Store Norwegian Cookies in an airtight container for up to a week.
Notes
Nutritional Estimate Per Serving
Nutritional Disclaimer
Nutritional information is an estimate provided by an online nutrition calculator. For accurate results, it is recommended that the nutritional information be calculated based on the ingredients and brands you use.
This post was originally published on February 4, 2012. It has been updated with new photos, more information and improved recipe.

Marcellina! I made these wonderful cookies today and they are fantastic. They take no time to make and are very flavourful, tender, and delicious. Thank you for such a great recipe.
You’re welcome, Franca! Yes these a quick and easy but the best part is how delicious they are. Thank you for your thorough comment.
please send me your recipes and newletter
I’d love to! Please subscribe using this link https://www.marcellinaincucina.com/subscribe/
How many does this recipe make?
Karen, this recipe makes 36 cookies.
It sounds delicious! I print the recipe now!
I love these! They remind me of these pecan swdish crescents I make. Love them with walnuts too and I do love the ball shape! They melt in your mouth – one of my favorite types of cookies!
I really want to make these as they look gorgeous. I love Scandinavian recipes 🙂
wow! These look absolutely amazing!
These have always been a favorite and I see them called by many names – Russian Tea Cakes, Mexican wedding cookies and now this! No matter what nationality claims them, they're delicious.
This is such a nice recipe. I will add it to my list. Lovely blog. Ciao!
These must just melt in your mouth. They are similar to my mother's Italian wedding cookies – which does not have any flour.
These walnut balls look fantastic! I am going to try it with a mix of different nuts.
Thanks for sharing!
Angie