Jelly Cakes
Jelly cakes are an old fashion favorite often served at parties and special occasions.
These small vanilla cakes are filled with cream and coated with sweet raspberry jelly and desiccated coconut. One bite, and you’ll be in love!
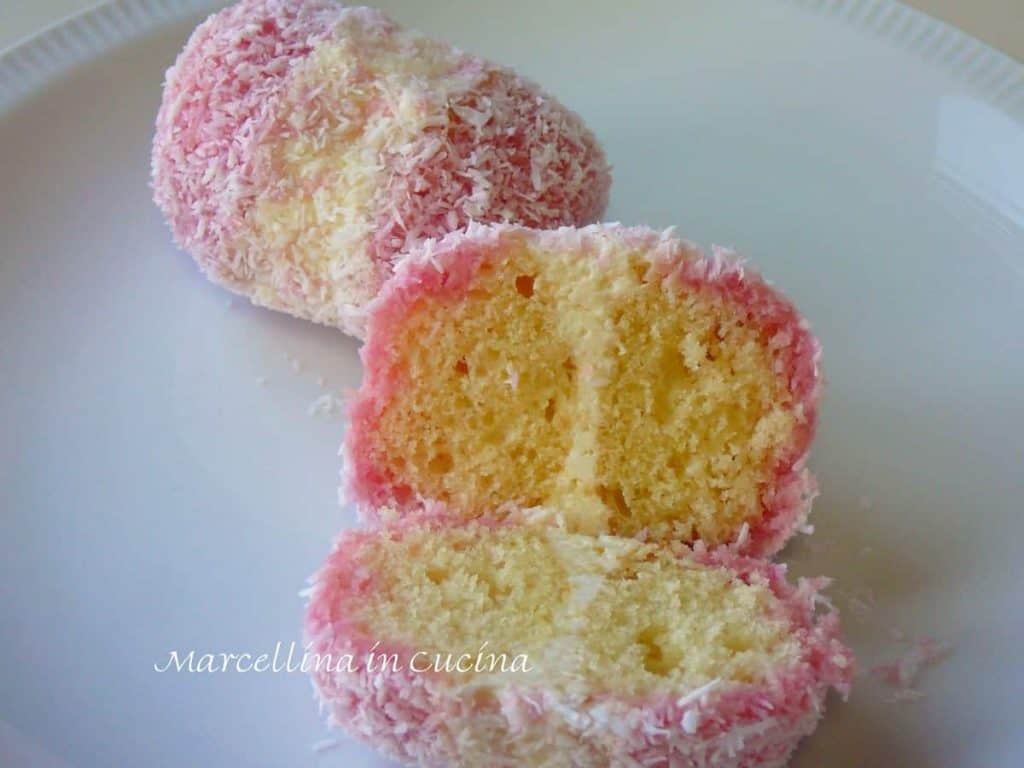
Small vanilla cakes sandwiched with whipped cream or buttercream, dipped in jelly (jello), and rolled in coconut, these cakes are dainty and sweet. Besides the taste, one of the great things about Jelly Cakes is that they freeze very well and thaw in moments.
You will require gem irons to make the traditional shape, but if not, the cake can be baked in a cake pan and then cut into squares or use shallow patty pans. Use whipped cream or this Italian meringue buttercream to sandwich cakes together.
Why you’ll love this recipe
- They’re delicious: The sweet flavor of jelly cakes is loved by all ages.
- They’re easy to make: This relatively simple recipe can be adapted to suit different tastes and preferences.
- They’re versatile: You can vary the fillings and coatings, allowing endless flavor combinations.
- They’re portable: Jelly cakes are often served at parties and special occasions because they are easy to transport and serve.
- They’re nostalgic: For many, these cakes bring back fond memories of childhood and family gatherings.
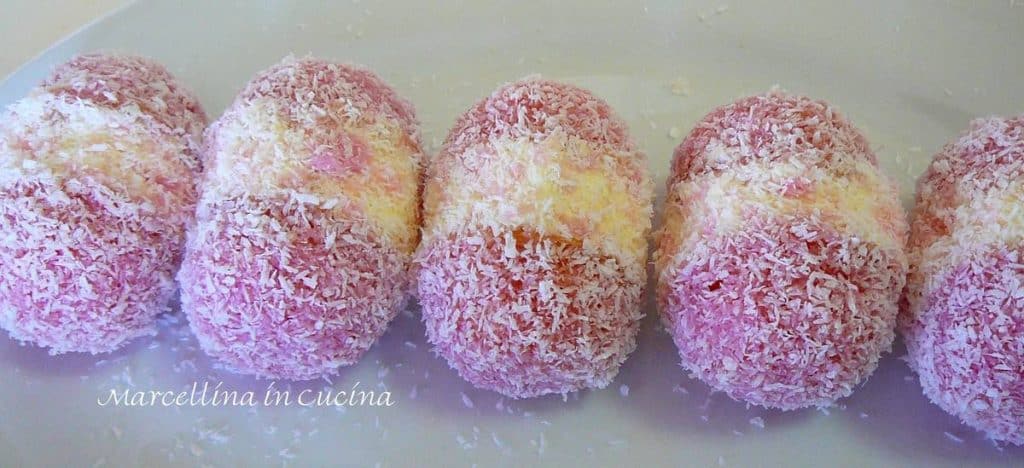
- They look so pretty: The colorful jelly coating and desiccated coconut coating make these cakes an attractive dessert.
For complete ingredient quantities and full instructions, please scroll to the printable recipe card at the bottom of the page.
Ingredients
- Salted butter
- Granulated sugar
- Vanilla Extract
- Eggs
- Self rising flour – if you can’t find this just mix 2 cups all purpose flour 3 teaspoons of baking powder
- Whole milk
- Raspberry jelly crystals (or Jell-o)
- Boiling water
- Cool water
- Whipped cream or Italian meringue buttercream
- Desiccated coconut
Variations
You can make square jelly cakes if you don’t have gem irons or shallow patty pans. Make the batter in greased and parchment paper lined 9in/23cm square cake pan for 20-30 minutes.
Cut the baked cake into small squares, approximately 2 inches/5 cm squares. Slice each square through the middle, then sandwich it with cream and dip it in jelly as in the recipe.
Instructions
Preheat the oven to 350F/180C. Sift flour (and baking powder if using). Grease or spray gem irons or patty pans.
- Beat butter and sugar to a cream. Add vanilla. Add eggs one at a time.
- Alternatively, add flour and milk to form a batter.
- Spoon a small teaspoonful of batter into each gem iron or patty pan hole.
- Bake for 15-20 minutes until cooked through.
To assemble
- Dissolve jelly crystals in the boiling water, then add cold water. Allow to stand in the refrigerator until beginning to set or until the consistency of egg white.
- Sandwich two halves together with cream.
- Dip your joined cakes into the partly set jelly, then roll in coconut. Refrigerate or freeze to keep for longer.
Equipment
You’ll need gem irons or shallow patty pans. Alternatively use 9in/23cm square cake pan. See the “Variations” section for instructions.
Storage
You can store assembled Jelly Cakes in an airtight container in the refrigerator for up to three days. If using Italian meringue buttercream, these cakes can be frozen for up to three months.
FAQ
Yes, you can make the cakes in advance and store them in the refrigerator
Yes, you can use any flavor of jelly that you like. Strawberry, cherry, and orange are popular alternatives to raspberry.
Yes, you can use a different type of cake, such as chocolate or lemon, if you prefer. However, remember that it will change the final product’s flavor.
Made this recipe?
Please let me know if you liked it by leaving a ★★★★★ star rating and a review below. And remember to subscribe to my newsletter – it’s free!
Jelly Cakes Recipe
Ingredients
For the cake batter
- 4 ounces (115 grams) salted butter
- 5 ounces (140 grams) granulated white sugar
- 1 teaspoon vanilla extract
- 2 eggs
- 2 cups (250 grams) self raising flour or 2 cups all purpose flour with the appropriate amount of baking powder added
- ½ cup (120ml )milk
To assemble Peach Blossoms/Jelly cakes
- 3 oz (85 grams) packet raspberry jelly crystals (or Jello NOT jam )
- 1 cup boiling water
- 1 cup cool water
- whipped cream or Italian meringue buttercream as needed
- desiccated coconut as needed
Instructions
- Preheat the oven to 350°F/180℃.
- Beat butter and sugar to a cream. Add vanilla. Add eggs one at a time then beat well. Sift flour and add alternately with the milk. Mix lightly into a soft dough.
- If using gem iron, spray with nonstick cooking spray then carefully place a small teaspoonful in each depending on the size of your gem irons.
- If using a cake pan, grease and line with baking paper a 9in/23cm square cake pan. Fill with the batter smooth and bake for 20 to 30 minutes or until a skewer inserted comes out clean.
- Your cakes should be lightly browned and risen.
To assemble your blossoms
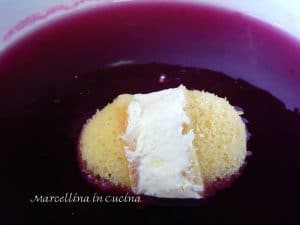
- Dissolve jelly crystals in the boiling water then add cold water. Allow to stand in the refrigerator until beginning to set or until the consistency of egg white.
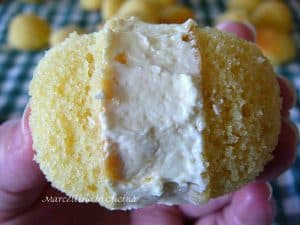
- Sandwich two halves together with cream.
- If your not using gem irons you will need to cut your cake into small squares about 1in/ 2.5cm square. Hopefully you cake is about 2in/ 5cm high. Cut each square through the middle then sandwich back together with cream.
- Dip your joined cakes into the partly set jelly then roll in coconut. Refrigerate or freeze to keep for longer.
Nutritional Estimate Per Serving
Nutritional Disclaimer
Nutritional information is an estimate provided by an online nutrition calculator. For accurate results, it is recommended that the nutritional information be calculated based on the ingredients and brands you use.


Love these
I like to refrigerate my cakes before dipping in jelly.
Makes the cake a bit more stable
That’s a good tip, Julie.
My first time trying these. I used mini cupcakes and they came out perfectly. Thank you for sharing this Aussie classic.
You’re welcome, Shane! Great idea to use mini cupcakes pans!
Love these peach balls old fashioned way ,shaped like a egg cut in middle with cream.Thank you for sharing.
You’re welcome, Maureen! These are definitely a fav!
I grew up with these & every time I go back to my small home town in North Queensland, these are the first things I buy! I really need to get some gem irons so I can make them for my friends in Sydney. Thanks ��
My grandma would make these for us all the time, but she passed away before she could pass her know-ow on to me. I'm going to make these right now and see if I can get it right. Thnks a bunch 🙂
This is so pretty and delicious!! I love the color and the shape!
They sell cakes like these here, I think Drakes or Hostess, and are called jelly fingers or something like that. However, they're not peach, they're not filled with as much cream as yours, and there's no way they could taste as good as your beauties. I must try these!
Also – what fun to host and exchange student from Italy!
Marcellina – how great it must have been for your Italian exchange student to have stayed with you and eaten your food! I wish I had a chance to experience being an exchange student when I was younger… it is really a great way to open your eyes to other cultures.
those look amazing!!! my girls would love them! thanks for sharing this great little cake with us!
these peach blossoms are new to me so thanks for the sharing !! and my son just come back from Adelaide !
Pierre de Paris
This is my delicous Aussy encounter after the Lamingtons. I think they are both lovely 🙂
Sawadee from bangkok,
Kris
What a lovely post Marcelina, we Aussies indeed have a wonderful future to look forward to. I was quite interested to read that when you are not cooking Italian food, you do Asian/Indian. I smiled, because when I am not cooking Asian or Indian, I cook Italian! (which means at least once or twice a week):)
These peach blossoms look beautiful and sound delicious. I want some gem irons now.
Thanks so much everyone for your kind comments!
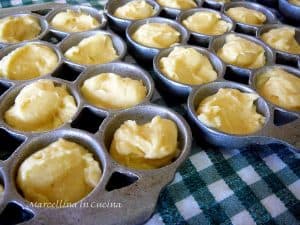
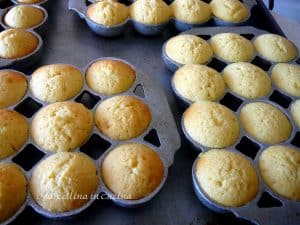
A gem iron is a cast iron baking tin divided into 12 rounded sections as in the second photo. These are available in good kitchenware shops in Australia or often in second hand shops. Also available online, I have noticed. Failing that, mini muffin tins could be used. Good luck and happy baking!
Ohhhh, I picked up a little gem iron on ebay and have been itching to use it. Must bookmark this recipe. They look absolutely delicious. I think the perfect sweet treat to introduce to international visitors!
how cute! fluffy yummy-ness! I am from the USA..what is a gem iron?..
These are just charming and so beautiful. How wonderful that you hosted that young girl from Padova. I'm sure you showed her all the best you and Australia can offer.
They look gorgeous! I'm sure she absolutely loved them and remembers her time with you and your family very fondly! 😀